For most residential jobs, expect to pay roughly $2 to $8 per linear foot for materials alone, and $10 to $25 per linear foot when you hire a professional for a standard installation on accessible ledges, gutters, or roof edges. A typical home project covering 50 to 100 linear feet of eaves or fence rails runs $500 to $2,500 installed. More complex jobs, like rooftop work with a steep pitch, high-access equipment, or solar panel edges, can push past $30 to $40 per linear foot once labor and access costs are factored in.
How Much to Install Bird Spikes Cost Per Foot and More

Marcus Weatherby
5 Jul 2026
Typical bird spike installation costs by area
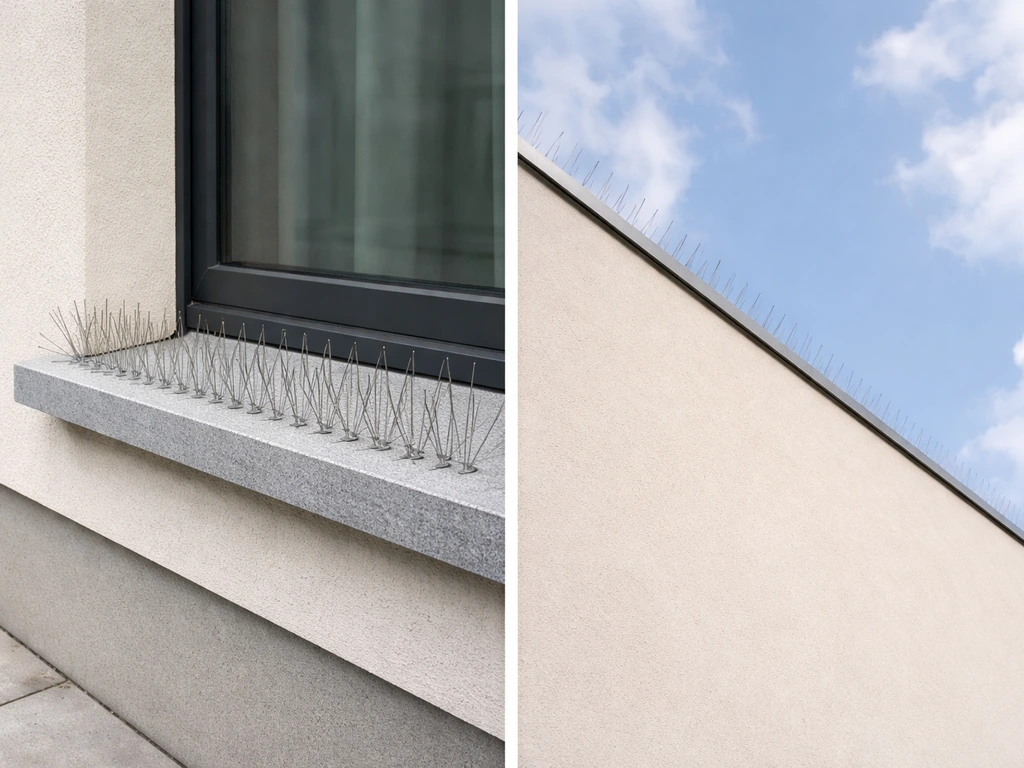
The location you are treating has more influence on total cost than almost any other factor. A flat window ledge on a ground-floor building is very different from a 30-foot roofline, even if the linear footage is the same.
| Location | DIY material cost (per linear ft) | Professional installed (per linear ft) | Typical project range |
|---|---|---|---|
| Gutters and eaves | $2–$5 | $10–$18 | $300–$1,200 |
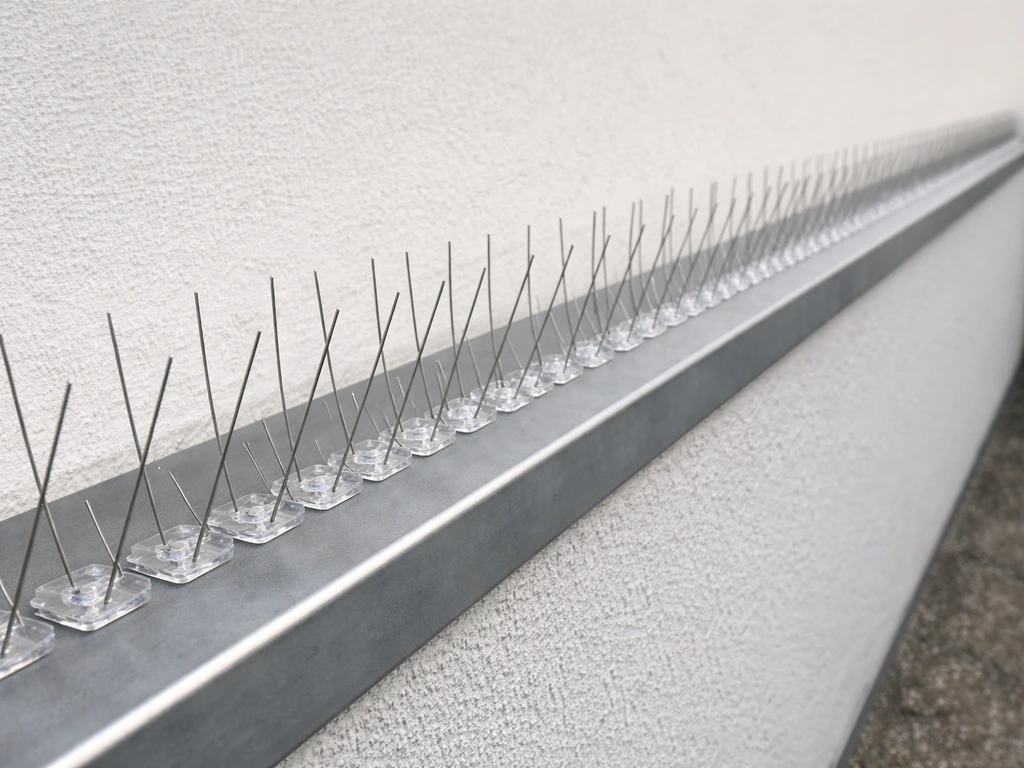
| Ledges and window sills | $2–$5 | $10–$20 | $150–$800 |
| Roof ridges and peaks | $3–$7 | $15–$30 | $600–$3,000 |
| Fence tops and patio rails | $2–$5 | $8–$15 | $200–$900 |
| Solar panel perimeter | $4–$8 | $25–$40 | $500–$2,500 |
| Commercial building ledges | $3–$8 | $15–$35 | $1,000–$10,000+ |
Solar panel perimeter work deserves special mention. Quotes from solar owners doing bird exclusion jobs often run $35 per linear foot or higher once the installer factors in roof access time, the specialized mesh or spike rail that clips to panel frames, and potential multiple visits. If you have a standard single-story residential roof with easy access, you are likely on the lower end. A multi-story commercial building with a flat roof but no permanent roof access points will cost significantly more.
Material and equipment costs
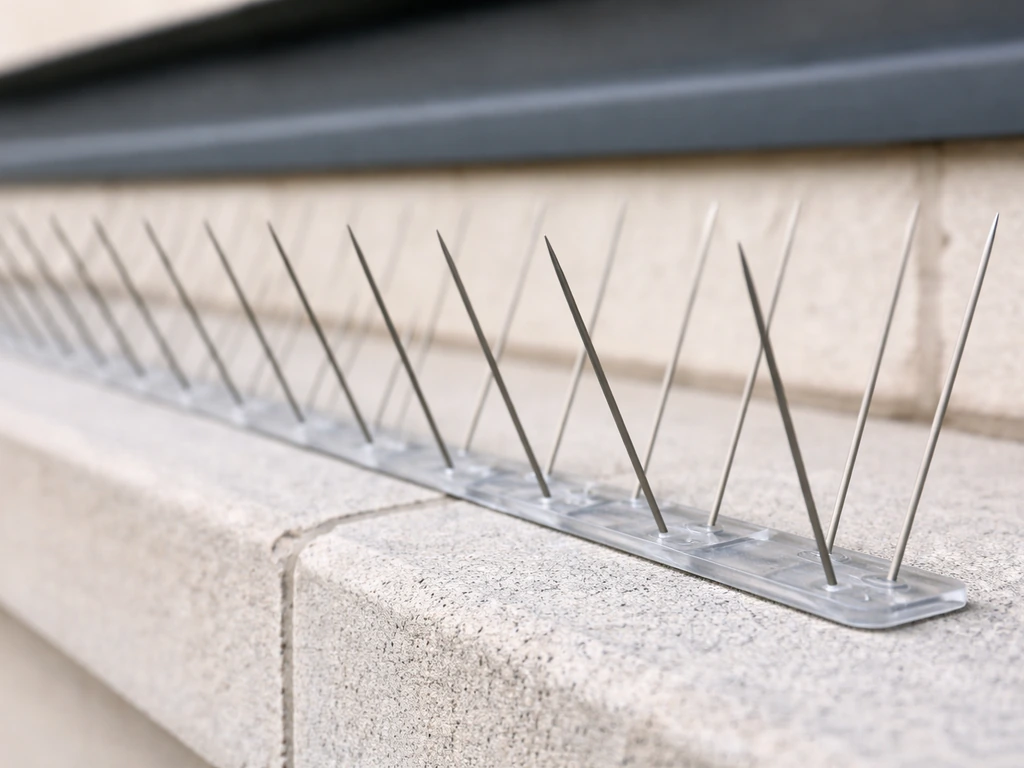
Bird spikes themselves are not expensive. The main variables are material (polycarbonate base with stainless steel pins vs. full stainless steel construction) and the width of coverage each strip provides.
Spike strip pricing
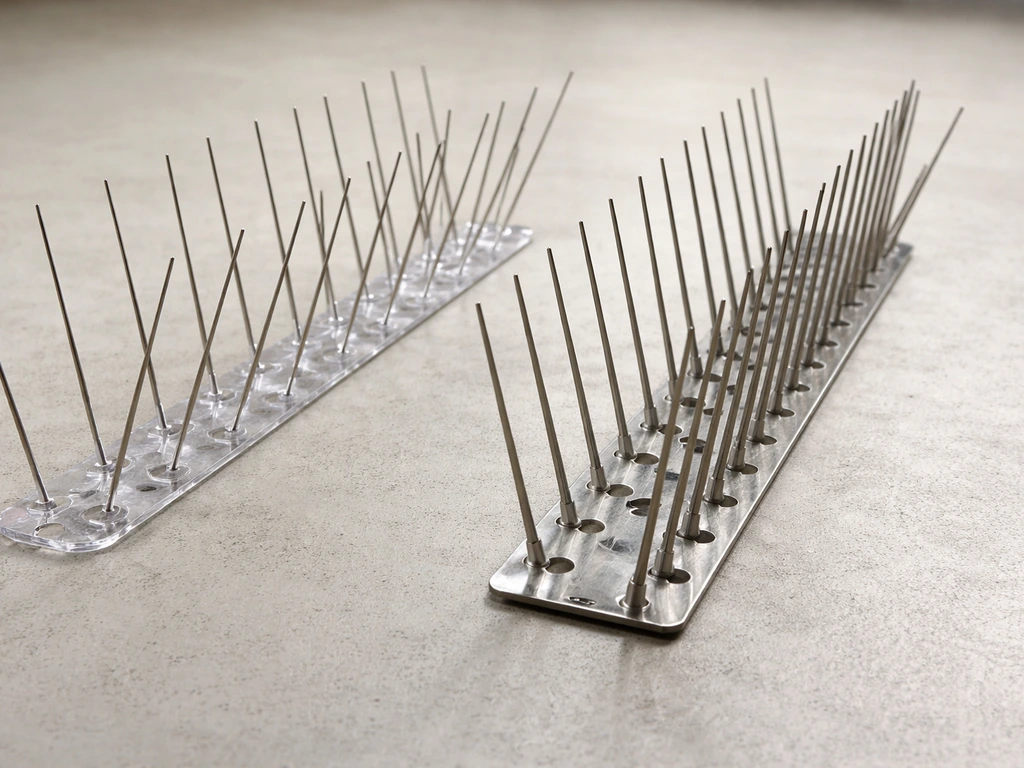
Standard polycarbonate-base spikes with stainless pins typically run $1.50 to $3.50 per linear foot at retail. Full stainless steel spikes, like Nixalite's full-row design or Bird Barrier's Dura-Spike, typically cost $3 to $6 per linear foot. You can often find 50-foot box quantities from specialty suppliers for around $200 to $300, which works out to roughly $4 to $6 per foot for commercial-grade product. Home improvement stores like Home Depot sell gutter-clip versions in 25-foot packs, which are convenient for small residential jobs.
Mounting hardware and adhesives
Most installations use either screws or adhesive, and sometimes both. For screw-mounted installs, budget roughly $0.10 to $0.25 per screw, and plan for about three screws per foot of strip as a baseline (Bird Barrier's Dura-Spike specs suggest roughly nine screws per three-foot section). For adhesive installs, Bird-X's special spike adhesive covers approximately 20 linear feet per 10.1-oz tube. At $10 to $15 per tube retail, adhesive adds roughly $0.50 to $0.75 per linear foot to material cost. Some manufacturers, including Nixalite, sell patented mounting clips that allow removal and reinstallation without damaging surfaces, which is worth considering on surfaces where you may need to reaccess or repaint.
Sealants and prep materials
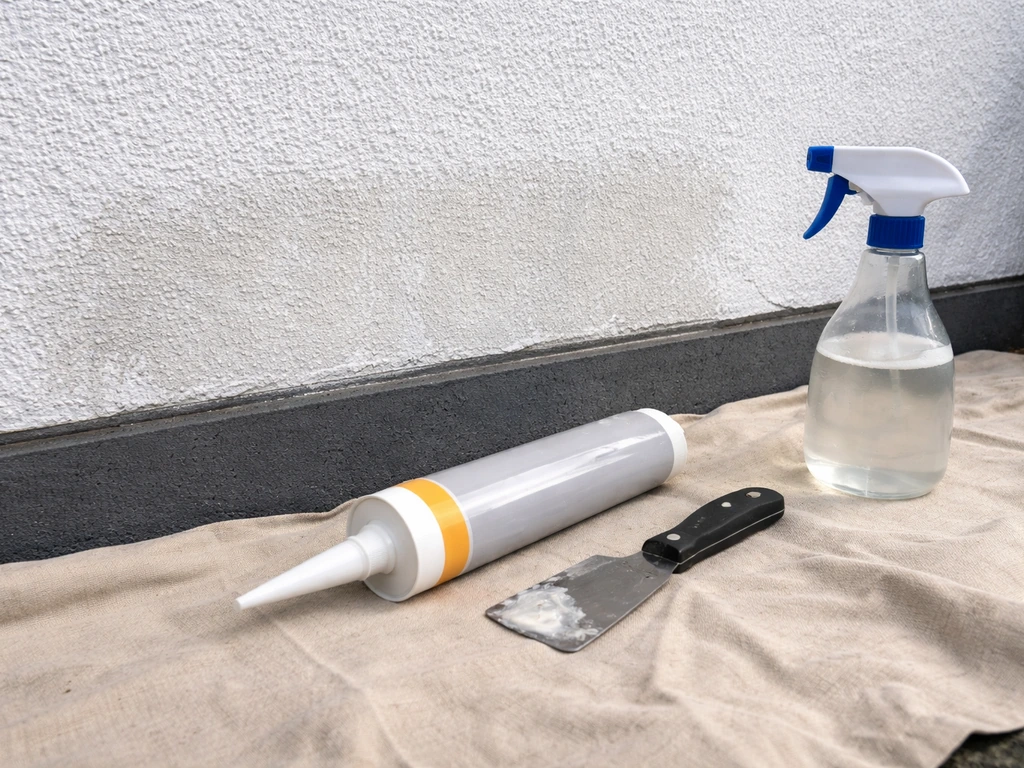
If you are working on a surface with gaps, cracks, or old mounting holes from previous hardware, you will need caulk or roofing sealant. A standard tube of exterior sealant runs $5 to $15. On masonry or concrete ledges, you may also need a masonry drill bit and anchors, adding another $10 to $30 to the tool cost. These feel like small numbers, but on a large retrofit job they add up.
Labor costs and the DIY vs. professional decision
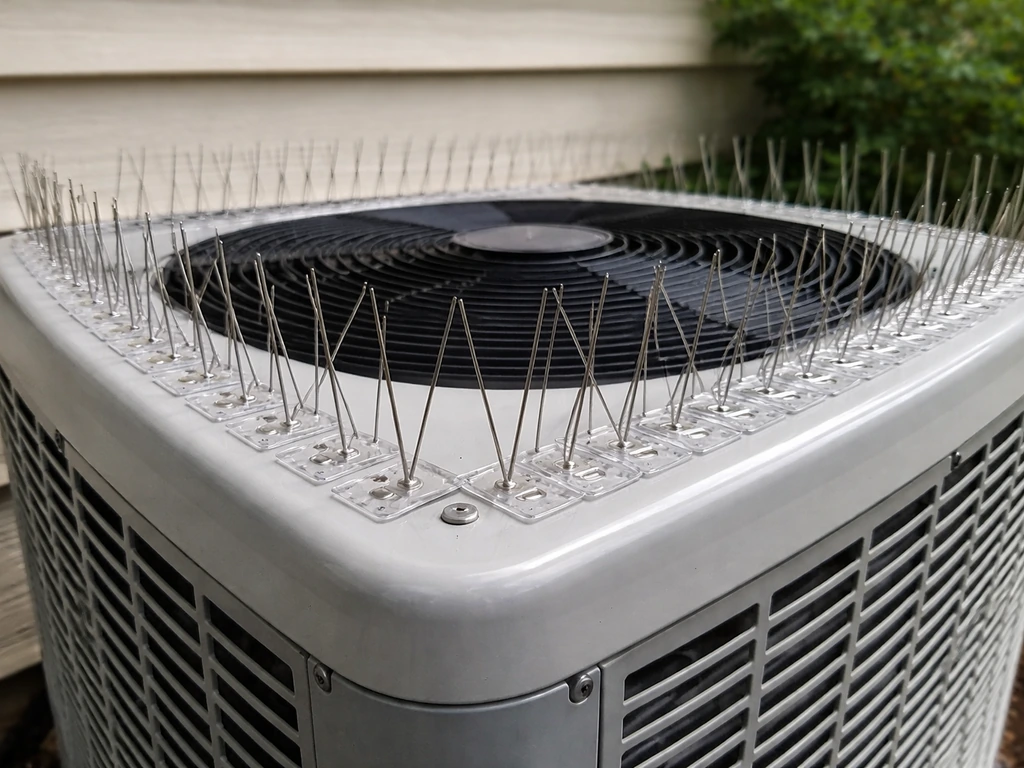
Labor is typically the biggest cost driver on bird spike jobs. Professional pest control and bird control installers generally charge $10 to $25 per linear foot for standard work, with that range covering their time, liability insurance, and equipment. Before you install bird spikes on an AC unit, measure the exact perimeter and choose the right mounting method for the metal surface. On very accessible jobs like a single-story fence line or a first-floor ledge, you may find quotes at the lower end of that range. Rooftop jobs or anything requiring a ladder above two stories almost always pushes toward the upper end or beyond.
What professionals charge for
- Truck roll or minimum service fee: $75 to $200 regardless of job size
- Labor at height (ladder or lift work): often charged at a higher hourly rate
- Surface prep (cleaning droppings, removing old hardware, patching): $50 to $200 extra
- Equipment rental (scaffolding, lift): $150 to $500 per day on top of labor
- Materials markup: professionals typically charge 20 to 40 percent over their material cost
When DIY makes sense
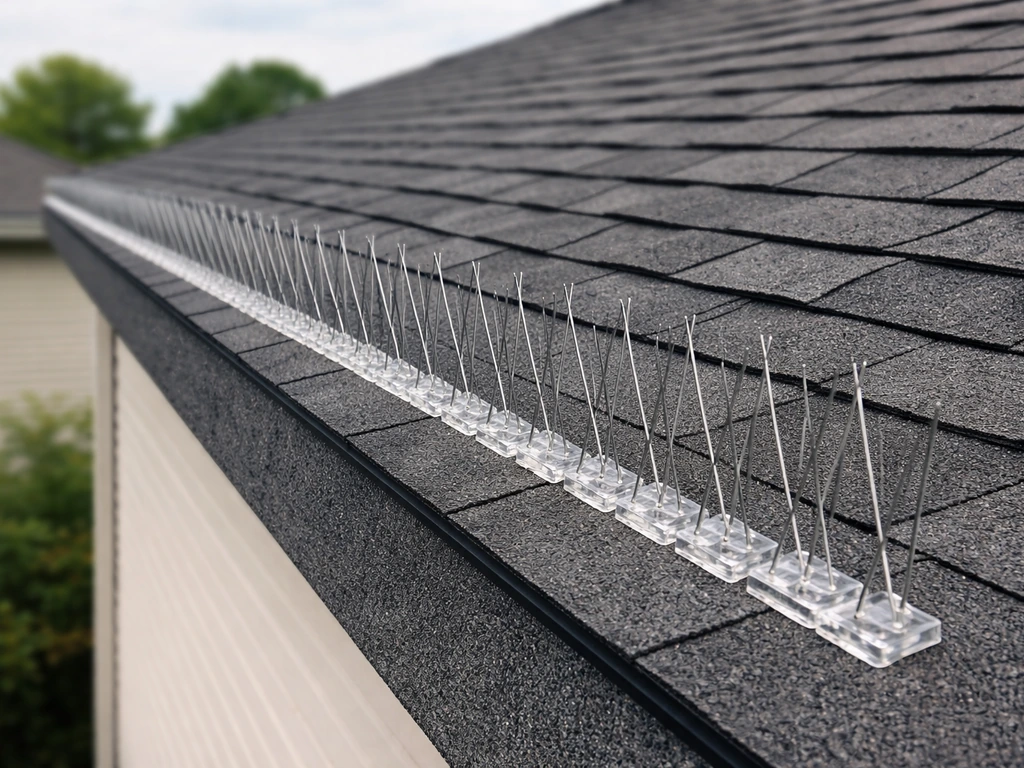
If your problem area is at ground level or reachable from a standard 6-foot stepladder, DIY is very manageable. Installing bird spikes on a fence top, a patio railing, or a first-floor window ledge takes a few hours at most and requires nothing more than a drill, a tube of adhesive or a box of screws, and the spike strips themselves. Installing bird spikes on a roof is similar, but you will need to work at height safely and plan for ladder setup, fall protection, and weatherproof mounting on roof edges how to install bird spikes on roof. For a 30-linear-foot fence project, you might spend $80 to $150 on materials and a Saturday afternoon versus $400 to $600 for a professional visit.
Where DIY gets complicated is anything above one story. Once you are on a roof or working off a ladder at height, the risk calculation changes quickly. A professional installer with the right fall protection equipment is worth the cost on those jobs, and their results will also be more consistent since they do this daily. If you want to explore the hands-on approach for simpler locations, guides on do it yourself bird spikes and how to install bird spikes go deeper on technique and product prep.
How installation details drive the final price
Surface type
Smooth metal or painted wood surfaces are the easiest to work with. Adhesive bonds quickly, screws go in cleanly, and prep time is minimal. Masonry, brick, concrete, and tile require masonry bits and anchors, which adds time and supplies. Some tile surfaces, particularly on roofs, are fragile enough that walking on them or drilling into them risks cracking, which means adhesive mounting is preferred but surface prep becomes more involved. Rough or weathered surfaces may also need cleaning and priming before adhesive will bond properly.
Coverage length
Longer jobs have lower per-foot costs. A professional doing 200 linear feet of eave coverage will almost always quote a lower per-foot rate than the same professional doing 20 feet, because setup time, mobilization, and overhead get spread across more work. If you have a large job, get at least three quotes and ask each contractor what their minimum charge is, since some have truck roll fees that dwarf the actual installation cost on small jobs.
Access and working height
Ground level and first-floor jobs are the cheapest. Second-floor work typically adds 20 to 50 percent to labor costs. Anything above that, or with a steep pitch, may require scaffolding or a boom lift rental that adds $150 to $500 or more per day. Roof-mounted spike installations, especially on steep-pitch residential roofs or multi-story commercial buildings, are at the high end of all pricing. For specific roof installation guidance, detailed coverage of how to install bird spikes on roof situations explains what is involved step by step.
Retrofit vs. new install
If you are replacing old spikes or removing a previous deterrent system, factor in removal time. Prying up old glued-down spike strips, cleaning residual adhesive, and patching any holes from old screws can easily add one to two hours to a job. On a commercial building with several hundred feet of ledge work, that adds up. A retrofit job on a surface with years of bird droppings also requires thorough cleaning before new spikes go down, both for adhesion quality and for health and safety reasons.
Permits, safety, and warranty considerations
Do you need a permit?
In most residential situations, installing bird spikes does not require a building permit. They are considered a minor addition rather than structural work. However, if you are on a listed or historic building, or working on a commercial property in a jurisdiction with specific facade regulations, it is worth checking with your local authority before installing anything. In the UK, the Wildlife and Countryside Act 1981 governs protections for wild birds, and Historic England has specific guidance on deterrents used on listed buildings. Even in the US, some municipalities have HOA rules or aesthetic covenants that technically cover visible deterrent hardware.
Working at height and fall protection
For any professional contractor, OSHA fall protection standards apply on the job. Under OSHA general industry standards (29 CFR 1910 Subpart D), fall protection is required at heights of 4 feet or more in general industry settings, and contractors must have appropriate personal fall-arrest systems when working on scaffolding or elevated surfaces. OSHA’s general scaffolding requirements outline expectations for fall protection systems and fall prevention when working at elevated heights [OSHA general industry standards (29 CFR 1910 Subpart D)](https://www. osha.
gov/etools/scaffolding/general-requirements). If you are hiring a professional, confirm they carry liability insurance and are compliant with fall protection requirements. For DIY work on a ladder, treat any roof-level work with genuine caution: use a standoff ladder, wear non-slip footwear, and never work alone.
Wildlife protection and humane installation
Properly installed bird spikes are designed to deter birds from landing without injuring them. The pins make surfaces uncomfortable, not dangerous. That said, installation method matters. Gaps between spike sections, or sections installed at wrong angles, can create spots where small birds land between the spikes or even become trapped.
In the UK, RSPCA guidance explicitly warns that bird control methods installed or maintained poorly can trap or harm wild birds, all of which are protected by law. Pest Solutions UK similarly frames bird spikes as an accepted deterrent approach in the UK, tying use to wildlife-protection legality and the fact that all wild birds are protected [Bird control methods installed or maintained poorly can trap or harm wild birds, which are protected by law](https://www. pestsolutions. co.
uk/pest-bird-control/deterrents/bird-spikes). The goal is a continuous, gap-free installation with no exposed attachment points that could snag feathers or feet.
Product warranties
Quality matters here. Budget polycarbonate spikes may last 3 to 5 years before UV degradation makes them brittle. Commercial-grade stainless steel spikes, like Bird Barrier's Dura-Spike, carry longer durability claims and warranty coverage. When buying for a permanent installation, especially on a commercial building, pay for the commercial-grade product. The price difference per linear foot is small compared to the cost of re-installing in a few years.
When spikes are not the right answer
Bird spikes work well for preventing landing and roosting on narrow ledges, rails, beams, and edges. They are less effective when birds are nesting in open cavities, gathering under solar panels, roosting in large open areas like broad flat roofs, or accessing enclosed spaces like vents and overhangs. In those cases, you need a different tool.
- Bird netting: the best option for large open areas, under solar panels, balcony enclosures, and cavities. More expensive to install ($3 to $15 per square foot professionally), but covers large zones spikes cannot.
- Visual deterrents (reflective tape, predator decoys, flash tape): low cost, easy to install, but effectiveness fades as birds habituate. Best as a supplement, not a primary solution.
- Sonic and ultrasonic deterrents: useful for open outdoor areas like gardens, patios, and pool decks. No physical installation on surfaces required, but coverage area is limited and urban noise can reduce effectiveness.
- Chemical repellents (bird gel, liquid repellents): work on ledges and surfaces where spikes are not aesthetically acceptable. Require more frequent reapplication and have environmental considerations.
- Exclusion flashing and mesh: particularly relevant for roof ridges, gable ends, and HVAC unit installations like bird spikes on AC units, where you need to seal gaps rather than just deter landing.
If you are dealing with pigeons nesting under solar panels specifically, bird netting clipped to the panel frame is generally more effective than spikes on the panel edge alone, because spikes only address the perimeter while netting closes the entire gap. You will often see spike and net combinations used together on complex installations.
How to get an accurate quote and estimate your project
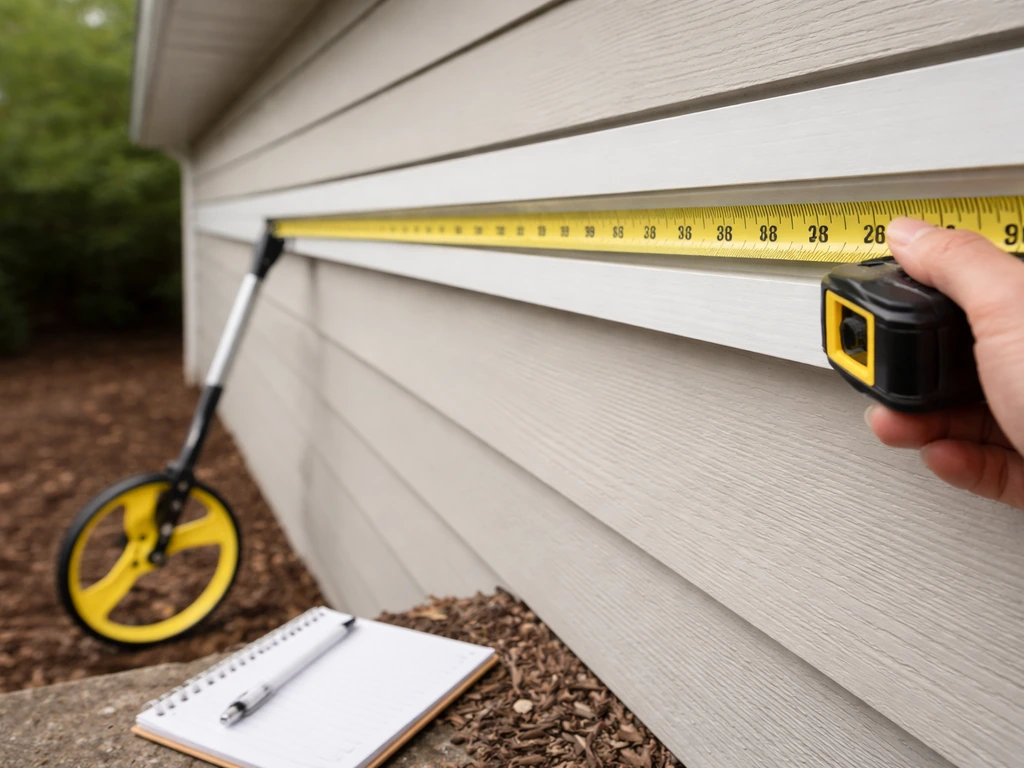
Measure before you call anyone
Get the linear footage of every surface you want covered before reaching out for quotes. Walk the perimeter with a tape measure or use a measuring wheel on long runs. For roof ridges you cannot safely access, a Google Maps satellite view with the property's known footprint can give you a reasonable estimate. Write down each zone separately (e.g., "north eave: 42 feet, patio railing: 28 feet, fence top: 35 feet") so you can get itemized quotes and compare them accurately.
Document the site clearly
Take photos of every surface, including close-ups showing the surface material, any existing hardware, droppings, or damage, and wide shots showing the working height and access conditions. Email these to contractors before they visit. A good contractor can give you a ballpark estimate from photos before scheduling a site visit, which saves everyone time. Note the bird species if you know it: pigeons, sparrows, starlings, and gulls all have slightly different behavior and may warrant different spike widths or supplemental methods.
What to ask contractors when getting quotes
- What is your per-linear-foot rate, and does that change based on height or surface type?
- Is surface cleaning and prep included, or is that a separate line item?
- What brand and grade of spike do you install, and what is the product warranty?
- Do you carry liability insurance and are your workers covered for roof/height work?
- Is removal of old hardware or patching of old holes included in the quote?
- What is your minimum job charge or truck roll fee?
- Do you offer a workmanship guarantee, and for how long?
Calculating how much product you need for a DIY job
Take your total linear footage and add 10 percent for waste and cuts. If your surfaces vary in width (a narrow window ledge versus a wide parapet wall), check the product specs: most residential spikes cover a 5-inch width, while wider models cover 8 to 10 inches. For adhesive, plan one 10.1-oz tube per 20 linear feet. For screws, plan three per linear foot. Once you have those numbers, you can price out the job at any retailer and know exactly what you are buying before you order anything.
Getting three quotes is the minimum for any professional job over $500. The spread between the lowest and highest quote is often significant, and the lowest is not always the best: ask what is included and what grade of product each contractor is pricing. A contractor using commercial-grade stainless spikes at $18 per foot may be a better deal than one using budget polycarbonate product at $12 per foot, especially if you want a solution that holds up for a decade.
FAQ
How do I measure how much bird spike material I really need (including corners and ends)?
Add at least 10% extra linear footage for cutting and end caps, but also count any transitions where birds can land (corners, gutter downspouts, and where two surfaces meet). Those junctions often need extra strips to maintain a continuous, gap-free run, so your “straight line” measurement can undercount the true install length.
What’s the most common installation mistake that causes birds to keep landing?
Most spike systems are meant to be installed so the pins face upward at a consistent angle and the strips align tightly. Even a small spacing mistake between sections can create landing lanes, so when you dry-fit the first strip, confirm the alignment before committing with screws or adhesive.
Do I need to budget more if I’m replacing old spikes or removing a prior deterrent system?
Plan for extra cost if the surface needs priming or if old hardware must be removed first. Removing old spikes can include scraping adhesive, patching screw holes, and cleaning droppings for safety and better bonding, which can add 1 to 2 hours even on modest projects.
Why does DIY time vary so much compared to the per-foot cost estimates?
For DIY, budget your time based on height and surface prep, not just linear feet. If you are working above a standard ladder reach or on a roof edge, factor in setup, weather delays, and safer workflow. A job that is “a few hours” at ground level can turn into a half-day or longer once you include ladder positioning and curing/handling time for adhesives.
What questions should I ask to make contractor quotes comparable per foot?
Yes, because “per foot” can hide minimum charges, truck roll fees, and whether removal and patching are included. Ask each contractor for a line-item scope (materials grade, mounting method, sealant, waste disposal, and any surface prep) and confirm their minimum job charge before comparing prices.
When are bird spikes likely to fail (or need a different solution)?
If birds are nesting in cavities, the perimeter-only approach may not solve the issue. Spikes work best on landing and roosting ledges, rails, and edges, but they are less effective when birds are inside vents, behind overhangs, or using broad open roof spaces.
Are bird spikes enough for pigeons under solar panels, or do I need something else?
If the entry is under or beneath a solar panel frame, spikes only cover the perimeter edge. Netting clipped to the panel frame typically seals the full gap and can be more reliable for active pigeon problems, and many installs use a spike plus net combination.
What affects how long bird spikes last (and when should I upgrade materials)?
Yes. UV exposure can shorten the life of cheaper polycarbonate bases, especially on south or west-facing exposures. If this is a long-term install and you do not want to revisit in a few years, paying for commercial-grade stainless systems can be more cost-effective even if the per-foot price is higher.
Should I choose screws or adhesive, and what surface types change that decision?
Adhesive is generally cleaner and faster on smooth, non-porous surfaces, but it is less reliable on dusty, chalky, or weathered material unless properly cleaned and primed. If you have masonry, tile, or fragile roof surfaces, you may need anchors, masonry bits, or a different bonding strategy, and that can change both cost and installation difficulty.
Do I need a permit or permission to install bird spikes?
In many cases, no permit is needed for a typical residential spike installation, but local facade rules or HOA aesthetic covenants can still restrict what you can install and where. If the property is listed, historic, or regulated commercially, check local requirements before work.
What should I verify when hiring someone to install bird spikes on a roof?
Safety regulations matter most when working near roofs. If you hire a contractor, confirm they use appropriate fall protection equipment and carry liability insurance, and verify how they will secure ladders or whether scaffolding or a boom lift is required based on your height and roof pitch.