For most surfaces, a polyurethane construction adhesive like Sikaflex-221 or a dedicated bird spike adhesive like Bird-X Spikes Special Adhesive is your best bet. Both bond firmly to masonry, metal, wood, and painted surfaces, flex slightly so they don't crack under temperature swings, and hold up in wet conditions. If you're working on a smooth metal rail or a surface where drilling isn't an option, 3M VHB tape (specifically 5952) is a serious contender. The right choice depends on your surface, your climate, and how permanent you want the installation to be.
Best Adhesive for Bird Spikes: How to Install

Marcus Weatherby
5 May 2026
Choosing the right adhesive type for bird spikes
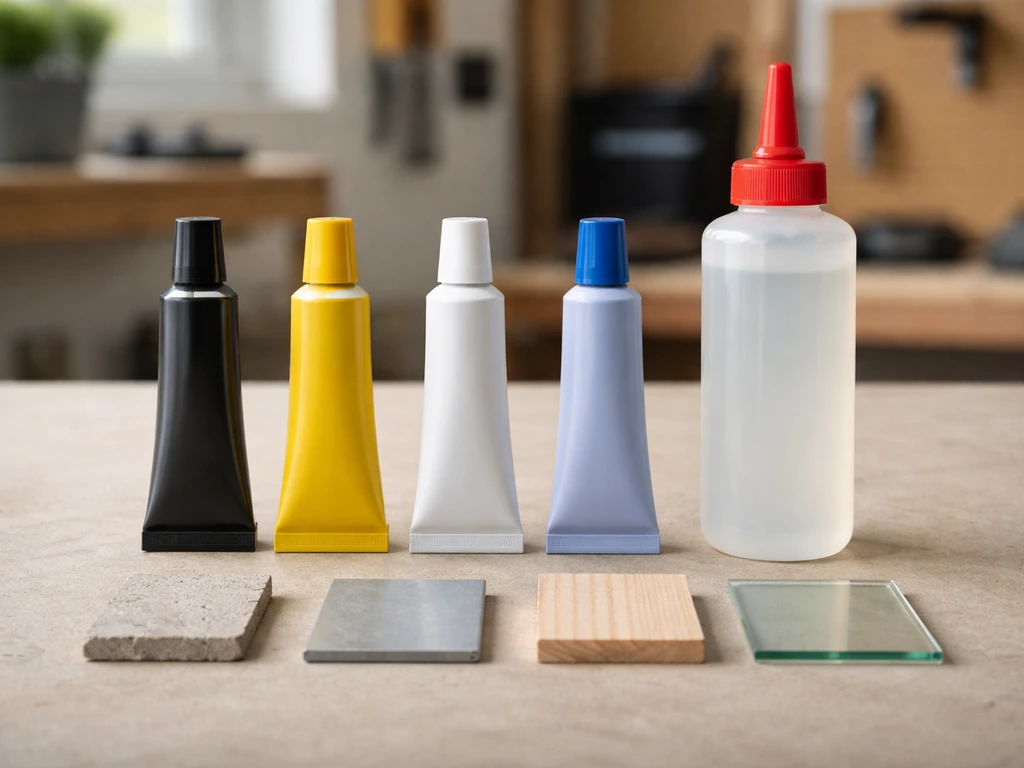
There are four main adhesive categories worth knowing about. Each has a different strength, flexibility profile, and surface compatibility. Here's how they break down in practice:
| Adhesive Type | Best Surfaces | Key Strengths | Limitations |
|---|---|---|---|
| Polyurethane sealant (e.g., Sikaflex-221) | Masonry, concrete, wood, metal, most painted surfaces | Excellent flexibility, moisture-curing, -50°C to 90°C service temp, long skin time (~60 min) | Slower full cure, needs clean/dry surface, not ideal for plastics without primer |
| Dedicated bird spike adhesive (e.g., Bird-X SSA) | Metal, masonry, wood, concrete | Purpose-formulated for spike bases, apply 32°F–120°F, easy bead application | Apply only to dry surfaces, brand-specific, narrower surface range |
| VHB tape (e.g., 3M VHB 5952) | Smooth metal, powder-coated surfaces, glass-adjacent areas | Clean installation, ~50% bond in 20 min, 90% in 24 hrs, handles up to 200°F (93°C), UV-rated | Minimum application temp 50°F (10°C), less effective on porous/rough surfaces |
| Construction silicone or epoxy | Masonry, tile, glass-adjacent areas | Very high bond strength, waterproof | Less flexible than polyurethane, harder to remove, some types brittle in cold |
For rough or porous surfaces like brick, concrete, and render, go with Sikaflex-221 or a similar polyurethane sealant. The moisture-curing mechanism means it handles damp outdoor conditions better than many alternatives. For smooth or powder-coated metal ledges, 3M VHB 5952 tape is a clean, reliable option that avoids the mess of wet adhesives entirely. The Bird-X Spikes Special Adhesive is purpose-built for spike installations and works well if you're sticking to their product line.
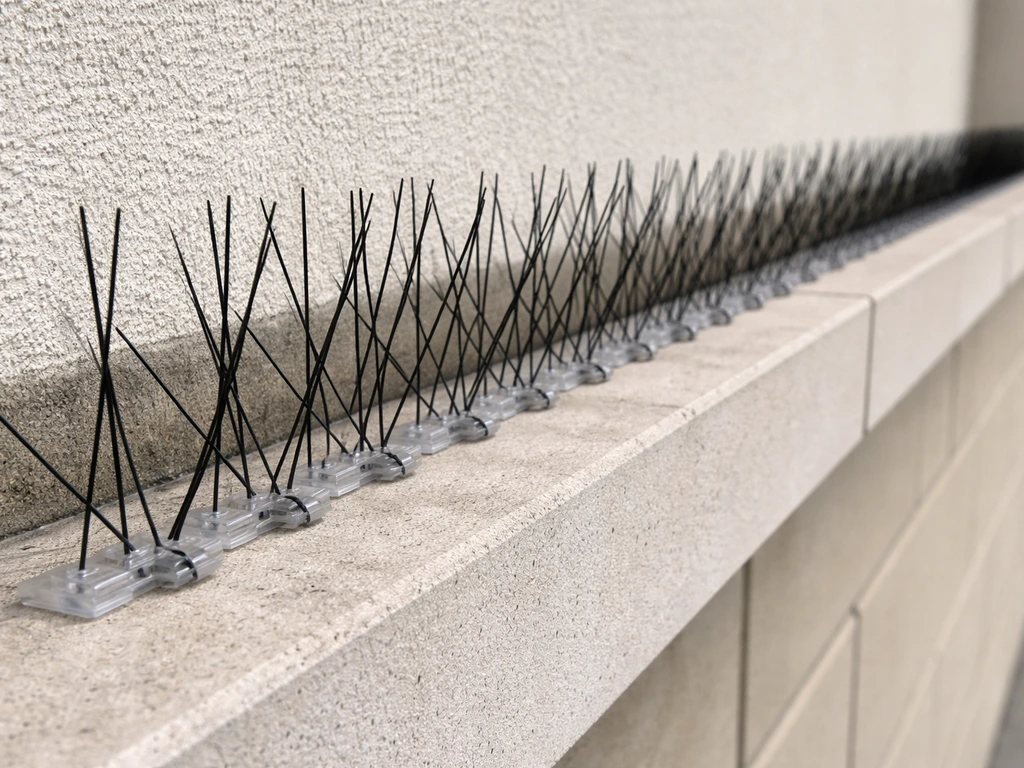
One thing worth noting: if you're choosing between spike types alongside your adhesive choice, the base design matters. Some spike strips have a trough built into the underside specifically to hold the adhesive bead. Others are flat. Knowing what you're working with changes how much adhesive you'll use. If you're still deciding on the spikes themselves, it's worth reading up on the best bird spikes before you commit.
Surface prep and installation steps for spikes
This is where most adhesion failures actually happen. People skip prep, the adhesive never gets a proper bond, and the spikes fall off within a season. Don't skip this part.
Step 1: Clean the surface thoroughly
Remove all dirt, bird droppings, moss, grease, and loose paint from the mounting area. Use a stiff brush first, then wipe down with an isopropyl alcohol solution or a dedicated degreaser. Bird-X specifically instructs that their SSA bonds only to dry, clean surfaces, and that instruction applies broadly to any adhesive you use. If the surface has flaking paint, scrape it back to a stable base. Adhesive stuck to loose paint is adhesive that's going to fail.
Step 2: Let the surface dry completely
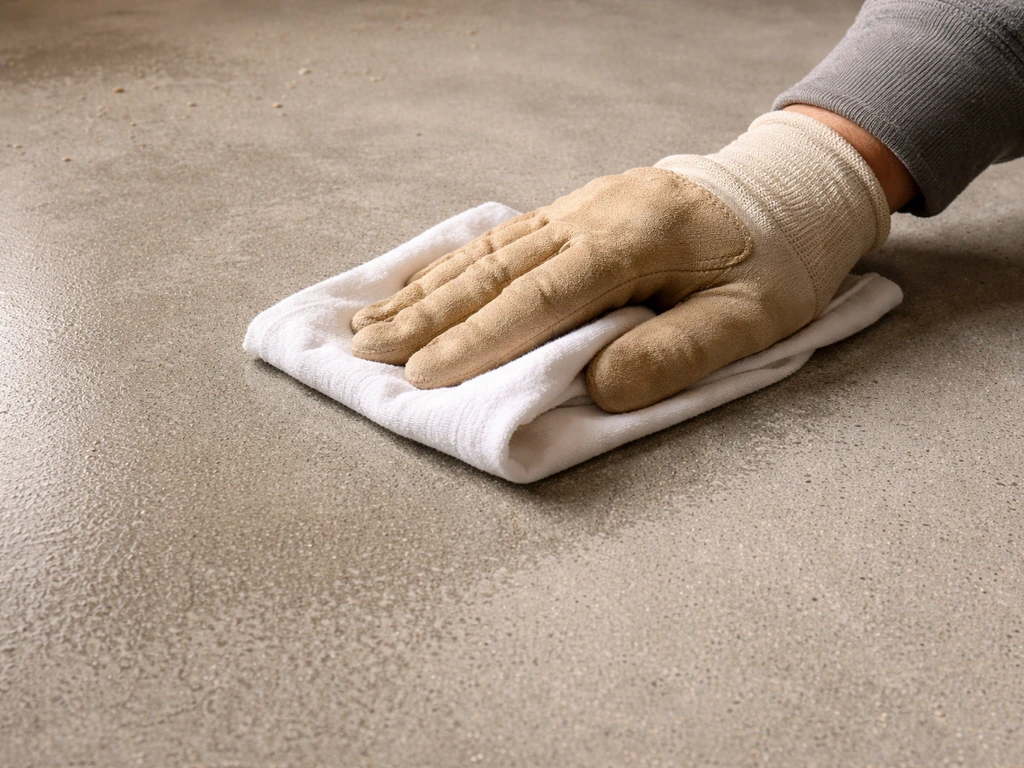
Even moisture-curing polyurethanes need the surface itself to be dry at the time of application. If you've cleaned the area, wait at least 30 minutes in warm weather, longer if temperatures are low or it's humid. Don't rush this step. If you're working after rain, wait until the ledge or surface is visibly dry to the touch and feels dry when you run a clean hand across it.
Step 3: Check and level the surface if needed
On rough masonry or concrete with large voids or crumbling sections, fill and smooth those areas first and let the repair cure before installing spikes. Trying to adhesive-bond a spike base over a crumbling edge just transfers the weak point to the substrate. On metal or painted wood surfaces, lightly scuff the area with 80-grit sandpaper to give the adhesive something to grip.
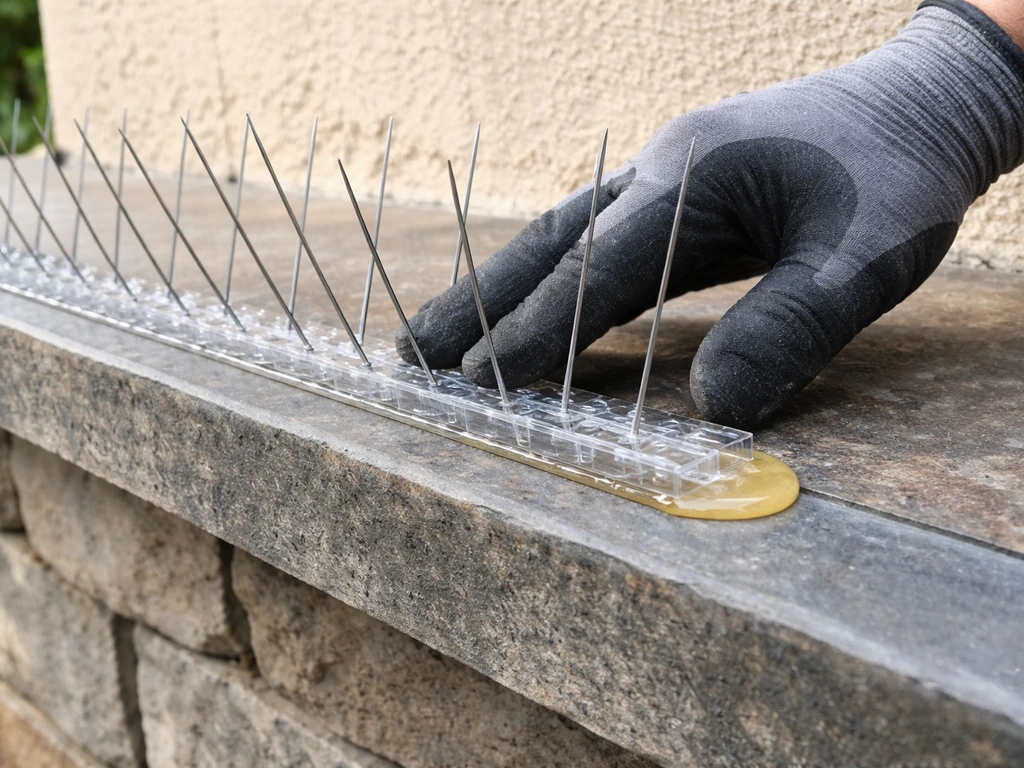
Step 4: Apply the adhesive correctly
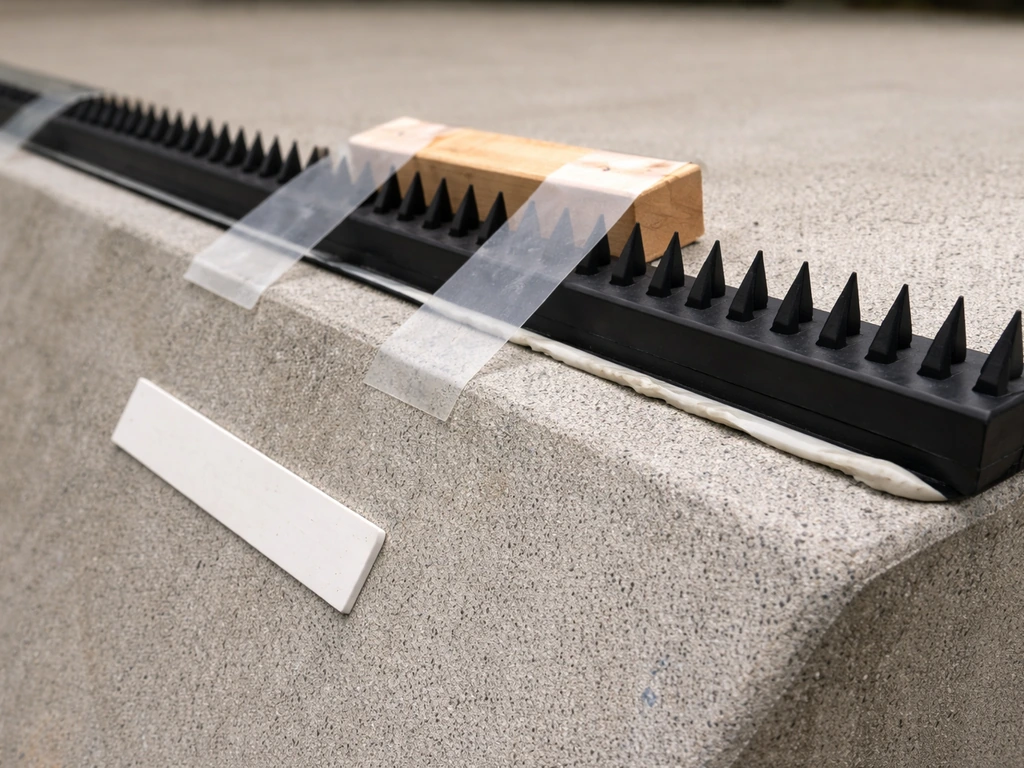
Apply a bead of adhesive along the underside of the spike strip's base, roughly 8 mm wide. If the strip has a trough on the underside, fill that trough with your adhesive bead and press it down. Here's the critical detail: do not run a single continuous bead all the way around the perimeter of the base. Bird Barrier explicitly warns against this because it creates a water trap between the base and the surface. Water gets in but can't get out, and over time that accelerates corrosion and weakens the bond. Instead, apply the bead in sections with small breaks to allow water drainage.
Step 5: Press, position, and allow to cure
Press the spike strip firmly down so the base makes full contact with the surface. Hold it for 30 to 60 seconds. If you're working on a vertical or angled surface, tape the strip in place temporarily while the adhesive sets. For Sikaflex-221, skin time is around 60 minutes at 23°C, so it'll firm up relatively quickly but won't reach full strength for 24 to 48 hours depending on conditions. For 3M VHB 5952, you'll have blank" rel="noopener noreferrer">about 50% bond strength at 20 minutes and around 90% at 24 hours. Don't test the installation by tugging on it before it's had time to cure.
On application temperature: Bird-X SSA specifies a working window of 32°F to 120°F (0°C to 49°C). 3M VHB 5952 has a minimum suggested application temperature of 50°F (10°C). 3M’s datasheet for VHB Tape 5952 specifies an ideal application temperature range generally around 21°C to 38°C (70°F to 100°F) blank" rel="noopener noreferrer">3M VHB 5952 has a minimum suggested application temperature of 50°F (10°C).. If you're working in cold conditions below these thresholds, either warm the surface with a heat gun briefly before applying, or wait for a warmer day. Adhesive applied below minimum temperatures doesn't cure properly and may never reach full bond strength.
Weather, UV, and corrosion resistance considerations
An adhesive that fails after the first summer is useless. You need something rated for outdoor exposure, and you need to understand what specific failure modes to watch for in your environment.
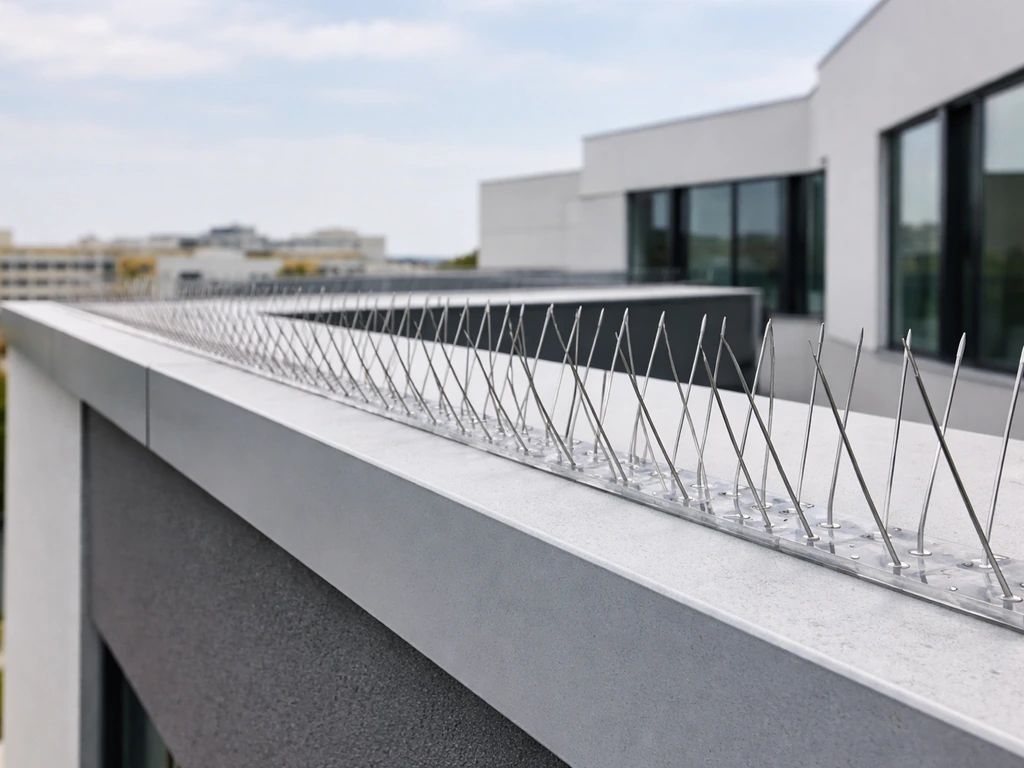
For UV resistance, polyurethane adhesives like Sikaflex-221 hold up well in sunlight. 3M VHB tape 5952 is specifically rated for high UV environments and is designed for long-term outdoor bonding, with a service temperature up to 200°F (93°C) which makes it well-suited for surfaces that get hot in direct sun, like south-facing metal ledges or dark-painted surfaces. If you're in a very sunny climate, VHB tape or a UV-stable polyurethane is worth the slightly higher cost.
For temperature cycling, you need an adhesive that can flex rather than crack as surfaces expand and contract. Polyurethanes have excellent flexibility characteristics for this reason. Sikaflex-221 has a service temperature range of -50°C to 90°C, which covers almost any climate. Standard silicone caulk can also flex well, but it has lower initial bond strength and may not hold spike strips on vertical surfaces under load.
Corrosion is a specific concern on metal surfaces. If you're installing stainless steel spikes on metal rails or flashing, make sure the adhesive doesn't trap moisture against the metal. This goes back to the water-trap issue with continuous adhesive beads. On bare or coated steel, a polyurethane sealant that remains flexible and doesn't crack will prevent water ingress better than a rigid epoxy, which can develop microcracking over time and create pathways for moisture.
On certain substrates like green (recently poured or wet) concrete, some adhesives require a primer to achieve full bond strength. Sika notes that for specific applications a primer like Primer-173 must be used. If you're installing on relatively new concrete, check the product data sheet for your chosen adhesive and use the recommended primer.
Cleaning, maintenance, and reapplication guidance
Bird spikes with adhesive bonding aren't a one-time installation you forget about. Periodic inspection keeps your deterrent effective and helps you catch adhesion problems before strips fall off and need full reinstallation. If you are new to the topic and wondering what bird spikes are used for, they are designed to prevent birds from landing and roosting on ledges and other surfaces.
Inspect the installation every six months, ideally before and after winter. Look for strips that have lifted at the edges, cracked adhesive, corrosion under the base, or bird activity suggesting gaps in coverage. Debris and nesting material can build up between strips and on spike bases, which over time can push strips up from the surface. Clear that debris with a brush or low-pressure water.
If a strip has lifted but the adhesive is still intact, you can often press it back down and inject a small amount of fresh adhesive under the lifted edge with a nozzle. Clean the area first, let it dry, then apply. If the strip has come off completely, you'll need to remove all the old adhesive from both the strip base and the mounting surface before reapplying.
To remove old polyurethane or silicone adhesive, use a plastic scraper to avoid scratching the surface, then clean residue with a solvent like mineral spirits or a dedicated adhesive remover. Once the surface is clean and fully dry, prep and reinstall using the same steps as a new installation. Don't try to stick fresh adhesive directly over old, partially cured or degraded adhesive. It won't bond properly.
For VHB tape reinstallation, the old tape must be completely removed. Use isopropyl alcohol to clean the surface after removing tape residue, let it dry fully, then apply fresh tape at the correct temperature. VHB tape doesn't respond well to being layered.
Safety notes for bird control and surroundings
Adhesives and bird spike installations are generally low-risk, but there are a few practical safety points that are easy to overlook.
- Wear nitrile gloves when applying any silicone or polyurethane adhesive. These products can cause skin irritation with prolonged contact, and some contain isocyanate compounds. Pestfix specifically recommends nitrile gloves for silicone spike adhesive application.
- Work in a well-ventilated area when using solvent-based adhesives or cleaners. If you're working in a confined space like an enclosed eave, keep air moving.
- On flat walkable surfaces like parapet walls at roof level or low ledges near foot traffic, make sure spike placement doesn't create a tripping or injury hazard for maintenance workers or window cleaners. Mark or flag freshly adhesive-bonded spike strips to avoid accidental contact during cure time.
- Bird dropping removal during surface prep can expose you to pathogens. Wear an N95 mask and gloves when cleaning heavily soiled surfaces before installation.
- Check local regulations before installing spikes in areas where protected bird species may be nesting. In many regions it's illegal to disturb active nests. Install spikes outside of nesting season where possible.
- If you're using adhesive near painted or coated surfaces of heritage buildings or leased commercial property, test the adhesive on a small hidden area first and confirm it won't damage the finish on removal.
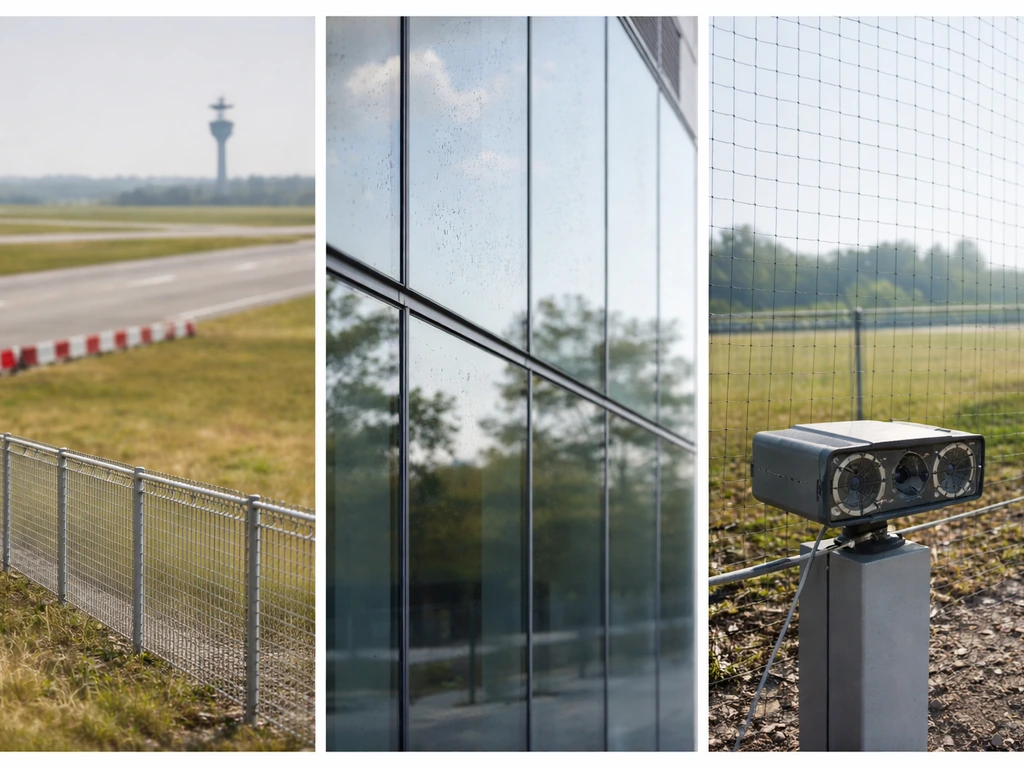
One broader point: adhesive-bonded spikes are one part of an effective bird deterrent strategy. If you're dealing with a persistent or widespread problem, combining spikes with other deterrents, or choosing the right spike design for the specific bird species you're targeting, will give you much better results than relying on a single method. For help choosing the actual spike style and configuration, see our guide on the best bird spikes for swallows. When you are trying to pick the best bird deterrent spikes, match the spike design to the species and placement for the highest chance of long-term success. Anti-bird spikes are a practical way to stop birds from landing and nesting on ledges, beams, and other sheltered spots. If you want an alternative to bird spikes, adhesive-bonded deterrents like netting, wire systems, or visual repellents can help depending on the surface and the bird pressure. The spike type and adhesive work together, so getting both right from the start saves you the hassle of reinstallation later.
FAQ
Can I apply new adhesive over old bird spike adhesive if the strip is still partly attached?
Yes, but only if the surface is still able to bond. If the old adhesive has partially cured, softened, or lifted away from the substrate, new adhesive over it usually fails. Remove all degraded material down to a stable base, then clean and fully dry before applying fresh adhesive and spikes.
What should I do if I place the spike strip in the wrong position during installation?
Don’t. Most adhesives need direct, full contact and consistent positioning, especially on porous masonry and angled rails. Lay out the strip first, confirm alignment, then apply adhesive and set it in one go. If you must reposition, lift it carefully and re-clean, because sliding on uncured adhesive can create a thin, weak bond line.
How soon after installing can I walk past or clean near the spikes without risking bond failure?
If you used a polyurethane construction adhesive, you generally can, but wait until the adhesive has fully cured for outdoor exposure, then inspect the bond line before stressing it. If you remove early, you risk tearing a partially formed interface and leaving gaps that later allow water ingress.
Why do some installations fail even when the adhesive brand is “outdoor rated”?
For most situations, the safest approach is to follow the manufacturer’s recommended bead size and apply in sections. Continuous perimeter beads create a water trap, which can lead to corrosion on metal and faster adhesive degradation. If you see water collecting at the base edge, your installation pattern is likely to blame.
What happens if it rains shortly after I install bird spikes?
If the substrate is damp or recently rained on, polyurethane systems can fail because moisture-curing still requires a clean, dry surface at placement time. For VHB tape, moisture and residual cleaner oils can also prevent proper adhesion. Let the surface dry fully, not just “not wet,” then reapply.
When do I need a primer for adhesives on concrete?
Use the recommended primer only when the substrate requires it. For newer or green concrete, some systems lose bond strength without a primer, and applying adhesive without it can look fine initially and loosen later. When unsure, check the specific adhesive’s data sheet for primer requirements, not just general guidance.
Is it possible to repair a partially lifted strip without removing everything?
If the strip is lifted but the adhesive bead is intact, injecting fresh adhesive under the lifted edge can restore contact without full reinstallation. However, you must remove debris first, dry the area, and inject into a clean interface, then hold the strip firmly until set. If the strip came off completely, plan on full removal and reapplication.
How can I tell whether the problem is adhesive choice versus installation technique?
Yes, for example if snowmelt and standing water accumulate at the base, or if you see corrosion creep under the edges. In those cases, the fix is not just “more adhesive.” Remove the strip, clean fully, improve drainage by using section breaks, and ensure you do not seal the entire perimeter.
How should I secure spike strips on vertical walls while the adhesive sets?
For vertical installations, use temporary taping or clamping only until the adhesive reaches enough firming to hold position. Don’t rely on tape to provide long-term support. Also avoid overtightening clamps on the spike base, which can squeeze adhesive into an uneven, too-thin layer.
Can I patch a small section of VHB tape if part of it lifted?
Generally no. Layering VHB tape on top of old tape or patching over partially removed residue doesn’t bond reliably because the tape system is designed for a single, properly prepared substrate interface. Remove all old tape and residue, clean with isopropyl alcohol, let dry, then apply fresh tape.
Is it okay to use multiple cleaners (for example, degreaser then alcohol) right before installing?
Avoid. Adhesives like polyurethane can off-gas as they cure, and mixing solvents with your cleaner can leave residues that prevent bonding. Stick to one cleaning method and fully evaporate all residues before adhesive application. If you used a degreaser, follow with a compatible final wipe recommended for that product.
How often should I inspect bird spike installations in extreme weather climates?
Inspect more often in harsh conditions. If you have frequent freeze-thaw cycles, heavy sun exposure, or coastal salt air, check every 3 to 4 months for edge lifting, cracking, or corrosion staining, then adjust your reinstallation schedule based on what you observe.