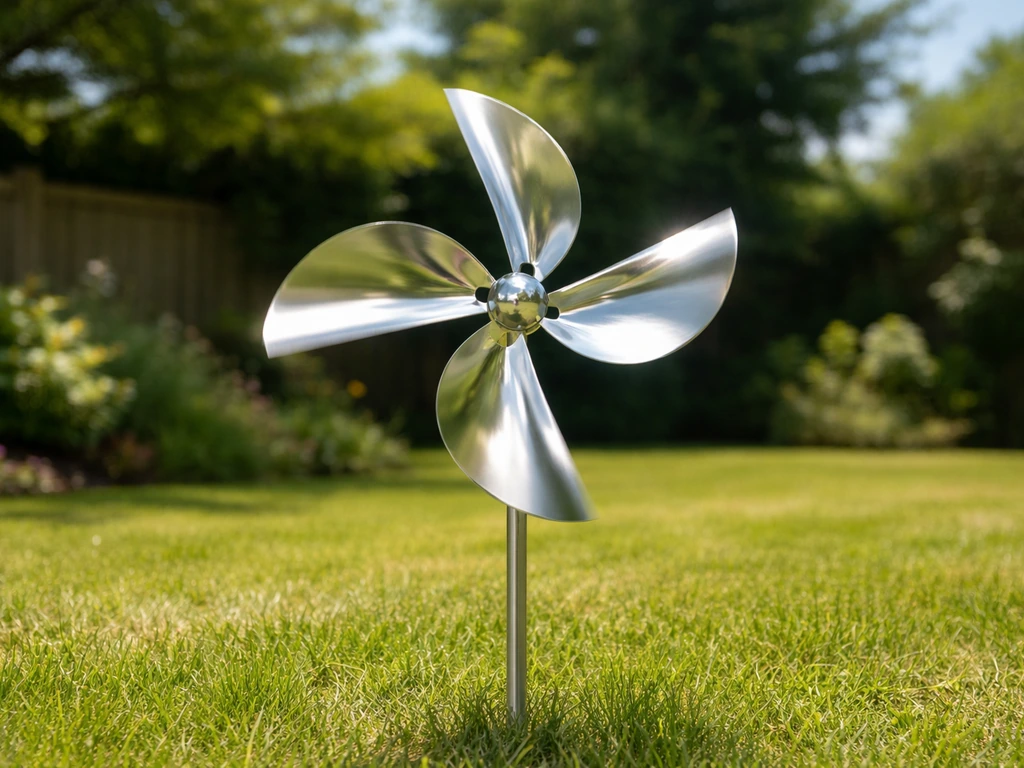
A bird repellent windmill is a wind-powered spinning deterrent, usually with reflective or holographic blades, that you mount in or near the area where birds are landing or roosting. When the wind catches it and sunlight hits the reflective surface, it creates a moving distraction zone that confuses birds enough to make them look for somewhere else to settle. Installing one correctly comes down to four things: picking the right spot with good wind and sun exposure, mounting it high enough to clear obstructions, orienting the fan blade at the right angle, and securing everything so it stays put after a storm. Do all four and you'll get the best performance these devices can offer.
Bird Repellent Windmill Instructions: Install and Place Correctly

Marcus Weatherby
28 Jun 2026
What a windmill-style bird repellent actually is
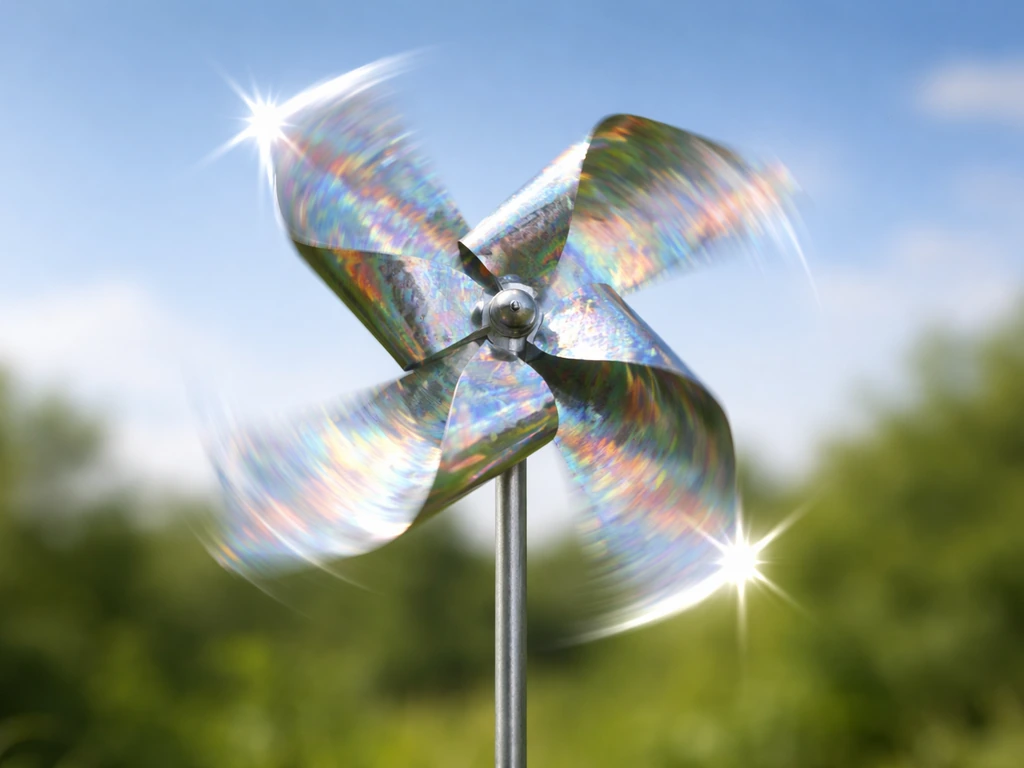
The term covers a range of products, but they all work on the same principle. A blank" rel="noopener noreferrer">reflective or holographic fan or paddle is mounted on a pivot so it spins freely in the breeze. As it turns, it scatters flashes of reflected sunlight in unpredictable directions. Birds interpret these random flashes as a potential threat and tend to avoid landing nearby. The most recognizable example is the Reflect-A-Bird (Bird B Gone RFLT-1), a silent wind-powered unit that uses exactly this sunlight-plus-motion approach. Similar products include the Eagle Eye Wind Unit from PestIT and a wide range of garden pinwheels and spinner stakes sold at hardware stores. Eagle Eye Wind Units are sold with reflective color/variant options (such as Silver/Red) marketed for nuisance land birds and, depending on the variant, sometimes for aquatic birds like seagulls Eagle Eye Wind Units color/variant options.
These deterrents primarily target landing and roosting behavior. The goal is to break a bird's perception that a spot is safe to settle on. They work best against nuisance land birds like pigeons and crows, though some variants using specific reflective colors (silver or red) are marketed toward aquatic birds like gulls. They are not designed to physically block access, so they work at a behavioral level, not a structural one.
Where to put them for the best coverage
Placement is the single biggest factor in whether these things work. The unit needs two things to function: wind and direct sunlight. If it's tucked under an overhang, shaded by a tree, or sitting in a dead-air pocket between structures, it will barely move and the reflective effect is wasted. Always pick spots that get consistent wind exposure throughout the day.
Height matters too. A good rule of thumb borrowed from other deterrent installation guides is to mount the active element at least 5 feet above any surrounding obstructions. Trees, fences, parked vehicles, and roof edges all create shadows and wind blocks. If a structure is casting a shadow between your spinner and the area you're protecting, you're losing coverage. The Eagle Eye installation guidance specifically flags this: anything creating a shadow between the unit and the protected zone reduces performance.
For spacing multiple units, think in terms of overlapping coverage zones rather than single-point protection. One spinner covering a 20-foot patio works fine. A 60-foot roofline needs three or four units spaced evenly so there are no dark, calm gaps birds can exploit. The exact spacing depends on your specific product's rated coverage area, so check the manufacturer's specifications, but a conservative overlap is better than a gap.
- Position in direct sunlight for as much of the day as possible
- Mount at least 5 feet above nearby obstructions like fences, hedges, or roof ridges
- Avoid spots sheltered from wind by walls, overhangs, or dense vegetation
- Orient the unit to face the direction birds typically approach from
- Use multiple units with overlapping coverage zones for large areas
- Keep the line of sight clear between the spinner and the protected surface
Step-by-step installation instructions

Most commercial windmill-style deterrents follow a similar assembly and mounting sequence. The instructions below cover the most common install types. Always read your specific product's manual first since hardware specs vary by kit.
Tools and hardware you'll need
- Screwdriver (flathead or Phillips depending on your kit)
- Wrench (for tightening the pivot bolt)
- Drill with appropriate bit if mounting to wood, fascia, or a hard surface
- Mounting screws (the Reflect-A-Bird RFLT-1 uses four #10 screws with heads larger than 1/4 inch)
- Level (optional but helpful for flat-surface mounts)
- Ground stake or T-post for garden/lawn installs
Ground stake or post-mounted install (most common for gardens and lawns)
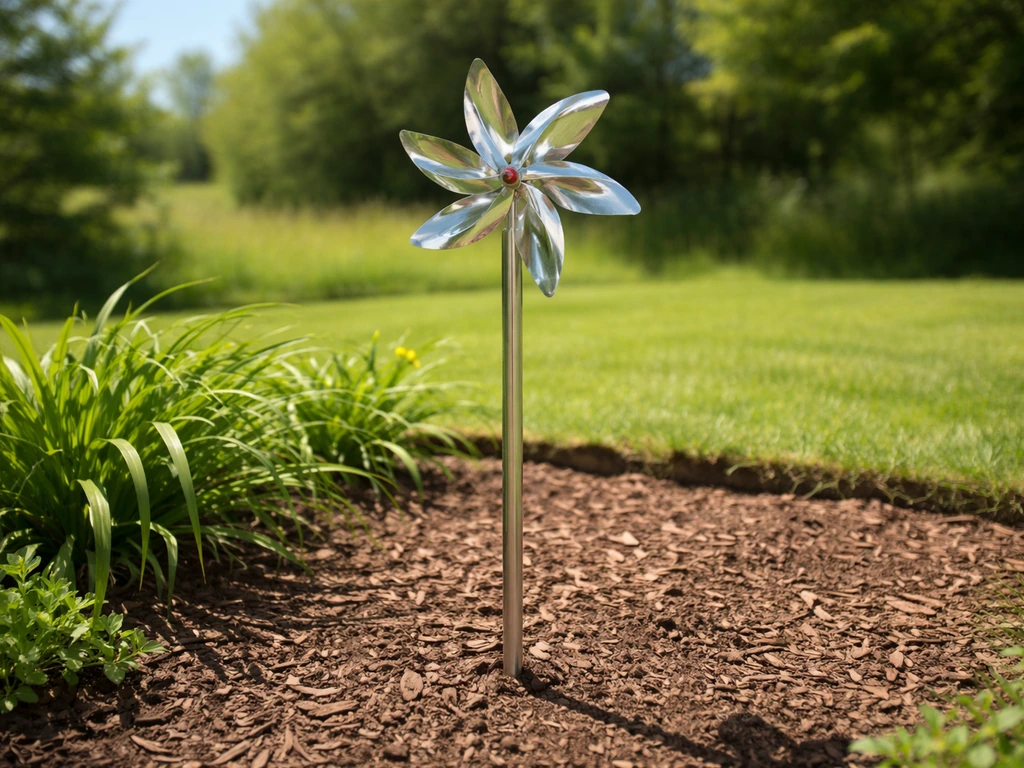
- Choose a location with good sun and wind exposure, away from structures that will block either.
- Drive the ground stake or T-post into the soil until it's firm and vertical. For soft ground, press in by hand. For hard or compacted soil, use a mallet.
- Slide or attach the windmill unit to the top of the stake according to your kit's instructions. Most units clip or screw onto a standard post diameter.
- Align the curved side of the top fan with the curved side of the base neck (on Reflect-A-Bird style units), insert the provided bolt, and hand-tighten it first.
- Position the fan at your desired angle. For maximum reflective coverage, angle it so it catches light during peak bird activity hours (usually early morning and late afternoon).
- Tighten the bolt firmly with a wrench so the angle holds even in strong wind. Do not rely on hand-tight alone.
- Give the fan a gentle push to confirm it spins freely on its pivot. If it binds or drags, loosen and realign before re-tightening.
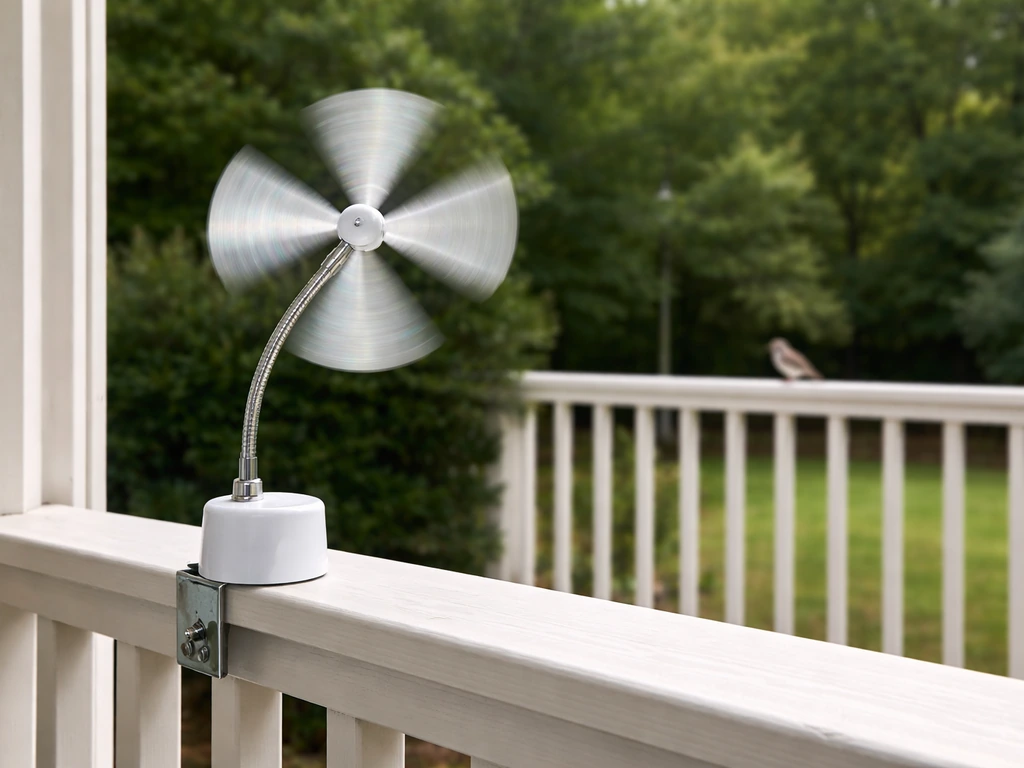
Flat surface mount (patios, deck rails, fence tops, roof fascia)
- Hold the base plate against the mounting surface and mark your four screw hole positions with a pencil.
- Pre-drill pilot holes if mounting to hard wood or composite material to avoid splitting.
- Secure the base plate using four #10 screws (or the hardware specified in your kit). Do not use adhesive as the primary fastener; screws give a more secure and adjustable hold.
- Attach the pivot stem and fan assembly to the base plate per the kit instructions.
- Align the fan angle, insert the bolt, and tighten with a wrench as described in the ground-mount steps above.
- Check that the unit sits level and that the fan clears any nearby surfaces as it spins through a full rotation.
- Confirm free spinning motion before considering the install complete.
Pole or mast-mounted install (for roofs, elevated structures, or large open areas)
- Select a mounting pole or mast rated for outdoor use. Galvanized steel or aluminum EMT conduit works well.
- Secure the pole to a structural anchor: a roof mount bracket, a T-post driven into the ground at the roof edge, or an existing fence post.
- Run the pole to a height that puts the spinner at least 5 feet above any surrounding obstructions.
- Attach the windmill unit to the top of the pole using the manufacturer's provided collar or bracket.
- Set the fan angle, tighten the pivot bolt with a wrench, and check for free rotation.
- Ensure the pole itself is stable by checking for wobble at the base. A loose pole will eventually work the fasteners loose and can become a safety hazard.
Weatherproofing, durability, and maintenance
These units live outside year-round and take a beating from wind, UV, and rain. A little routine attention keeps them performing and prevents a loose unit from becoming a hazard. After any significant storm, go out and physically check each unit before assuming it's still working.
| Maintenance Task | When to Do It | What to Look For |
|---|---|---|
| Check and re-tighten pivot bolt | After heavy wind or storm | Fan angle has shifted; bolt feels loose when tested by hand |
| Clean reflective fan surfaces | Monthly or when visibly dirty | Dust, bird droppings, or oxidation reducing reflective flash |
| Inspect mounting screws or stake | After storms; every 2-3 months | Screws backing out, stake leaning, corrosion on hardware |
| Check spin freedom | Monthly | Fan catches or drags on pivot; debris lodged in rotation path |
| Replace worn or cracked blades | When visually damaged | Faded reflective coating, cracked plastic, bent fan arms |
| Reposition unit | Every 4-6 weeks or when birds return | Birds habituating; move unit to a new location or angle |
The reflective coating on cheaper units fades quickly in direct sun. If you notice the flash effect is weaker after a season, the fan blade likely needs replacing. Some kits sell replacement blades separately. If yours doesn't, it's often cheaper and more effective to replace the whole unit than to run a faded one that birds have already learned to ignore.
How well do these actually work, and when to upgrade your approach
Wind-powered reflective deterrents can genuinely reduce bird activity, especially when they're freshly installed in a new location. In addition to reflective windmills, combining different bird strike prevention methods can improve results while reducing the chance birds habituate. The problem is habituation. Birds are smarter than we give them credit for, and once they figure out that the spinning thing has never actually hurt them, they start ignoring it. This typically happens within a few weeks to a couple of months, faster with highly persistent species like pigeons.
There are a few things that slow down habituation: irregular movement patterns (wind-driven units help here since they're unpredictable), combining the spinner with other deterrent types, and periodically repositioning the unit so birds can't map it as a known, safe landmark. Visual-only deterrents alone tend to lose effect faster than combinations.
For long-term, reliable protection, physical exclusion methods, especially netting and spikes, outperform visual deterrents consistently. For many nuisance wildlife issues, UMD Extension guidance emphasizes integrated pest management strategies that can be more reliable than deterrents alone by blank" rel="noopener noreferrer">excluding birds from access points, such as with netting, and using combinations. Netting is widely recognized as the most effective and longest-lasting structural bird control method. Spikes are similarly reliable for ledge and roofline roosting. Use the windmill spinner as a first line of defense or as part of a layered approach, not as your only solution if birds are persistent.
| Method | How It Works | Best For | Durability vs Habituation |
|---|---|---|---|
| Windmill/spinner deterrent | Visual confusion via reflected light and motion | Initial deterrence, open areas, gardens, patios | Moderate; birds habituate in weeks to months |
| Bird spikes | Physical barrier prevents landing | Ledges, roof edges, rails, signs | High; no habituation, lasts years |
| Exclusion netting | Blocks access to protected area entirely | Eaves, solar panels, roofs, fruit trees | Very high; permanent when installed correctly |
| Sonic/ultrasonic deterrents | Sound-based behavioral pressure | Large open spaces, warehouses, airfields | Moderate; habituation possible, works best combined |
| Reflective tape/flash tape | Visual flicker deterrent | Garden rows, window areas, small spaces | Low to moderate; fades quickly, needs regular replacement |
If your windmill spinner isn't solving the problem after a few repositions and a few weeks, take that as a signal to layer in additional methods. If you need broader coverage, combine bird deterrent methods and keep rotating or repositioning the approach to reduce learning over time. Adding sonic deterrents alongside visual ones slows habituation. If birds are actively roosting on a ledge or under solar panels, spikes or netting will give you a permanent fix that doesn't depend on wind or sunlight.
Troubleshooting when birds keep coming back
- Move the unit to a completely different position, even a small change of a few feet can reset the birds' pattern
- Check that the fan is actually spinning freely and not locked by a loose bolt, debris, or storm damage
- Add a second unit to eliminate any gap in coverage the birds are exploiting
- Pair the spinner with a different deterrent type, such as reflective tape, predator decoys, or a sonic device
- Consider whether the area needs physical exclusion (spikes or netting) rather than behavioral deterrence alone
- Replace faded or cracked fan blades since a non-reflective spinner provides almost no benefit
Safety and compliance: what to know before you install
Most residential windmill installs are straightforward and low-risk, but there are a few safety and legal points worth covering before you start drilling.
Structural and physical safety
A poorly anchored unit is the most common safety issue. In strong wind, a loose spinner can become a projectile or can damage the surface it's mounted on. Always use screws rather than adhesive as the primary fastener, make sure stakes are driven to a firm depth, and re-check all mounts after the first major storm. If you're mounting to a roof, use hardware rated for exterior/roofing applications and seal any penetrations to prevent water intrusion.
Proximity to aviation and public areas
Reflective spinning deterrents generally don't pose the same risk as laser devices, but if you're near an airport, airfield, or flight path, it's worth thinking about whether a highly reflective, tall-mounted unit could create visual distraction for low-flying aircraft. The FAA has been clear that any visual stimuli aimed toward the sky near flight paths can be a concern. If you're in an approach or departure corridor, check with your local airport or aviation authority before installing elevated reflective deterrents, and keep units at the lowest effective height.
Near roads and public walkways
Mounting spinners near roads or public sidewalks means you need to think about glare. Bright reflective flashes directed at drivers can be a distraction hazard. Point units away from road-facing angles, or choose a lower-intensity reflective surface if the install is near traffic.
Electrical and material safety
If you're using reflective mylar tape or similar materials as part of your setup, keep them well away from power lines, electrical fences, and outdoor electrical equipment. Mylar is a conductor and can cause shorts or arc faults if it contacts live wiring. This is less of an issue with a purpose-built plastic spinner unit, but relevant if you're supplementing with DIY tape.
Wildlife regulations
Visual deterrents like spinners are passive and non-harmful, so they generally don't fall under wildlife protection regulations. However, if you're dealing with protected species like certain herons, egrets, or migratory birds, you're limited to deterrence, not trapping or harm. Physical exclusion methods like netting must be installed correctly so birds can't become entangled. The U.S. Fish and Wildlife Service has flagged loosely hung netting as a bird hazard, so if you move beyond spinners into exclusion netting, make sure it's properly tensioned and installed. For complex situations involving protected species, it's worth consulting a licensed wildlife control professional.
Pets and neighbors
Wind-powered spinners are silent by design, which is one of their advantages over sonic deterrents. That said, a poorly seated unit can rattle or vibrate in high wind, which can stress pets or irritate neighbors. Reddit users on r/Waterfowl also report that wind-powered reflective deterrents can be inconsistent unless it is breezy enough and may rattle or vibrate, which can stress pets or irritate others blank" rel="noopener noreferrer">wind-powered reflective deterrents can be inconsistent and may rattle or vibrate. Check for any mechanical noise after the first windy day and adjust the mount if needed. Keeping neighbors informed is also just good practice if you're installing multiple visible units on a shared fence or boundary.
FAQ
My bird repellent windmill spins, but I do not see flashes. What usually causes that?
Pick the location based on both wind consistency and direct sun, then verify movement in mid-day when the sun angle is strongest. If the blades only spin briefly or stop when clouds pass, move the unit rather than changing the angle, because weak rotation usually means you will not get enough flash variation to confuse birds.
How many windmill spinners do I need for a roofline or long fence?
Yes, multiple units can cover a larger area, but overlapping matters more than the total number. Use the rated coverage area from your exact product and spread units so there are no shaded, still-air pockets between them, then reassess after the first storm to ensure all mounts stayed aligned.
What if the birds keep landing right next to the spinner instead of moving away?
Confirm that the protected area is not in the shadow cast by nearby trees, fences, vents, or roof edges. Even a slight shadow line can create a “safe landing corridor,” especially for pigeons, so check where the spinner’s reflective plane is relative to the birds’ approach path.
Should I move or just re-angle the windmill if it stops working?
Repositioning can help, but start with small changes. Move the unit a few feet, then rotate its orientation toward the primary birds’ landing approach, because the key is to disrupt their most common entry angle and create unpredictable flashes there.
Is the 5-foot height rule enough for all setups?
Use the product manual if it lists a minimum height, but as a practical check, keep the active spinning section at least about 5 feet above the nearest obstructions that create shadows. Also avoid mounting so high that the blades face away from the sun hitting your target zone.
What is the best way to mount a bird repellent windmill on a roof safely?
If you are mounting to a roof, do not rely on tape or casual caulking. Use exterior-rated, corrosion-resistant hardware, and seal penetrations properly to prevent leaks, then inspect after heavy rain because water intrusion often shows up later even if the unit stays intact.
Why does my windmill spinner rattle or vibrate in high wind?
Most units are designed to be wind-powered and silent, but rattle usually indicates loose hardware or a vibrating pivot. Tighten fasteners, confirm the pivot spins freely without binding, and re-check after the first strong-wind day so you do not get noise that annoys neighbors.
How do I tell if I should replace blades versus replacing the whole unit?
Yes, reflective units can lose effectiveness if the reflective coating fades or the blades are bent, dull, or cracked. Replace blades if your kit offers them, but if flashes are significantly weaker after a season and the movement is normal, replacing the whole unit is often the faster, more reliable fix.
Why do the birds ignore it after some time, and how long can I wait before changing strategy?
Expect faster habituation with highly persistent nuisance species, often within weeks to a couple of months. To slow learning, reposition periodically and use a layered approach, such as combining the spinner with spikes or netting on roosting ledges when you need a permanent stop.
Does placement change if birds are landing at ground level instead of on ledges?
If birds are landing on the ground or low shrubs, a higher-mounted spinner may not reach the effective flash zone. In that case, place the unit so the flashing occurs near the exact landing point, or combine with ground-level deterrents, since visual-only coverage depends on line-of-sight behavior.
Are there special concerns installing reflective windmills near airports or flight paths?
If you are near an airport or flight corridor, treat reflective devices seriously. Keep units as low as practical for effectiveness, avoid aiming any flashes toward the sky, and contact the local aviation authority if you are within an approach or departure path area.
How can I prevent glare issues if I install a windmill on a property edge near a road?
Yes. When near roads or sidewalks, reflective flashes can distract drivers. Position the unit so the reflective plane is not angled toward traffic, or choose a lower-intensity setup if your product offers options, then test during peak travel times.
Is it safe to enhance a windmill setup with DIY reflective tape or mylar?
If you add DIY materials like reflective tape, keep them away from electrical lines and any outdoor electrical hardware. Mylar and similar materials can conduct or create unsafe contact paths, so the safest approach is to use manufacturer-approved components only.
What should I do if the birds I am targeting might be protected species?
If you are dealing with protected species, do not switch to trapping or harm-based methods. Stick to deterrence and, for complex or likely protected-bird situations, consult a licensed wildlife control professional to ensure compliance and correct non-harmful exclusion if needed.
What maintenance schedule helps keep bird repellent windmill instructions on track over the year?
If it is outdoors year-round, plan on seasonal checks rather than waiting for failure. After storms, verify the mount is tight and the blades spin freely, then at least once per season inspect for cracks, bent blades, and fading, because UV damage often starts at the reflective surface first.
Next Article
Bird Trapping Methods: Safe, Humane Steps and Alternatives
Humane bird trapping methods with step-by-step setup, safe handling, troubleshooting, and prevention alternatives for ke