The most effective way to prevent bird strikes on windows is to make the glass visible to birds from the outside. That means breaking up reflections and transparency with patterns, films, screens, or coatings applied to the exterior surface of the glass. Everything else, including sound deterrents and lighting tricks, plays a supporting role at best. If you want results fast, start with the outside of your problem windows today.
How to Prevent Bird Strikes on Windows: Best Fixes

Marcus Weatherby
14 Apr 2026
Why birds hit windows in the first place
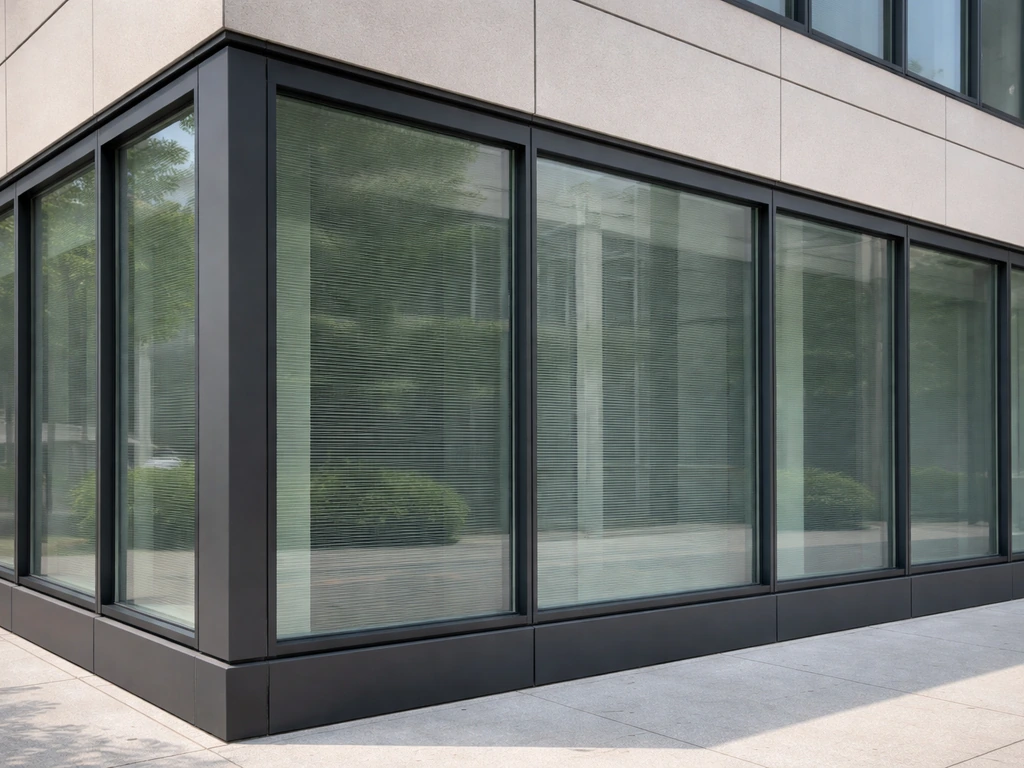
Birds don't understand glass. When they see a window, they see either a reflection of the sky and trees behind them (which looks like open space) or a clear view through the building to whatever is on the other side. Both scenarios trick them into flying straight at what looks like a safe passage. They're not being careless; they're responding to what their eyes tell them is there.
One thing worth knowing: this is not mainly a skyscraper problem. According to U.S. Fish and Wildlife Service data, 56% of bird-window collision mortality happens at low-rise buildings of one to four stories, and another 44% occurs at homes in urban and rural areas. Less than 1% is attributable to high-rise buildings. So if you have a house with large windows, you're in the highest-risk category, not the lowest.
Collision risk also spikes during migration seasons, spring and fall, when billions of birds are moving through areas they don't know well. If you've noticed dead or stunned birds near a window at certain times of year, that's why. Nearby feeders, trees, or shrubs that birds frequent also increase pressure on adjacent windows because birds are flushing away from those spots repeatedly throughout the day.
Quick fixes you can apply right now
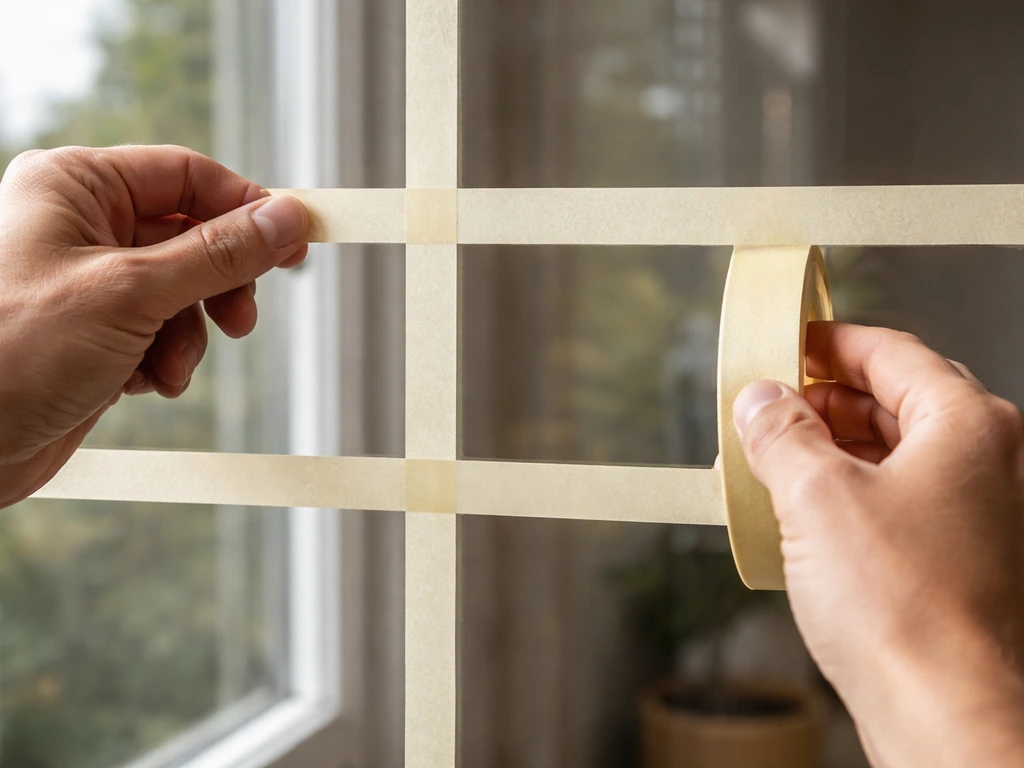
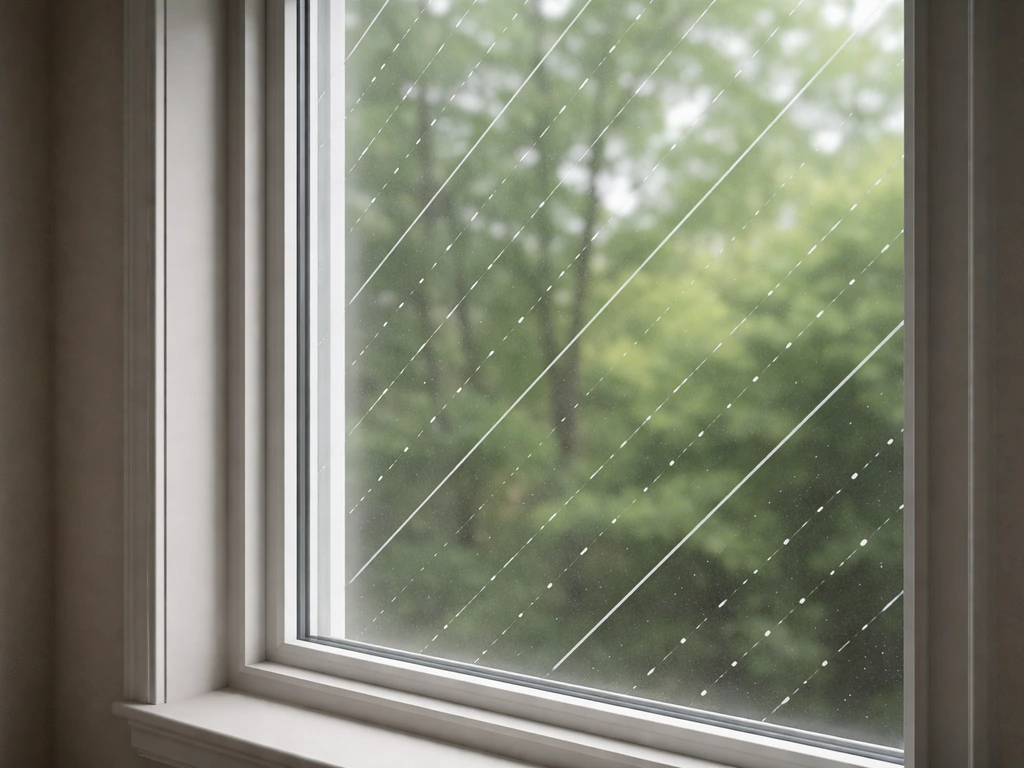
If you want to do something today, the fastest options are applied directly to the glass. The key rule, and this is non-negotiable, is spacing. Birds can and will fly through gaps they think are large enough. Pattern elements need to be placed no more than 2 inches apart to actually stop birds from attempting to squeeze through. A single hawk silhouette sticker does almost nothing on a large window. Full coverage with tight spacing is what works.
The simplest DIY approach is to apply vertical or horizontal strips of tape, or a grid of dots, using paint pens, tempera paint, or specialized bird-safe tape on the outside of the glass. For example, the U.S. Fish and Wildlife Service notes that non-toxic tempera paint patterns or artwork applied to exterior glass can reduce bird collisions when combined with proper spacing guidelines. Keep spacing under 2 inches between elements. You can also use soap or whiteboard markers for a temporary, removable option that still provides visibility. It looks a little rough, but it works while you plan a more permanent solution.
Another immediate option is to close blinds or curtains on windows that face through to another window or glass door, which eliminates the see-through effect that fools birds. This doesn't help with reflective glass but is worth doing for rooms where the transparency is the main issue.
Best window treatments: visual markers, films, and exterior options
There are three main categories of visual treatment, and they vary in permanence, appearance, and cost. The best bird-window strike prevention methods all share one trait: they interrupt what birds see from the outside, not the inside.
Window decals and clings

Decals are the most popular starting point. They're affordable, reversible, and require no tools. The catch is that most people dramatically underuse them. Audubon is clear that on a large window you need many closely spaced decals, not one or two. The 2-inch spacing rule applies to the gaps between decals as much as to any other pattern element. Audubon notes that window decals may help only when placed with about 2 to 4 inches spacing, and large windows may require many closely spaced decals 2-inch spacing rule. If you're using round dots, they should be roughly 1/4 inch in diameter and spaced no more than 2 inches apart in all directions.
Do bird window stickers work? Yes, but only when applied correctly and with enough coverage. A single sticker, or even a handful spread across a large pane, won't cut it. You need to treat the whole window like a pattern problem, not a decoration problem. If you want to go this route properly, look at the best window decals to prevent bird strikes for products designed with the right spacing and visibility built in.
UV-reflective decals are worth mentioning here. They're nearly invisible to humans but show up as bright patterns to birds, which can see into the ultraviolet spectrum. That sounds ideal, but there are real limitations: UV decals can be harder for birds to detect in low-light conditions, and they fade over time and need regular replacement. Check them seasonally if you rely on them, especially heading into fall migration.
Window clings for bird safety are a good option for renters or anyone who can't make permanent changes, since they apply with static electricity and leave no residue. Just make sure to apply them on the outside surface if possible, not the inside.
Window films
Window films are a step up in both durability and coverage. A good patterned film applied to the exterior breaks up reflections across the entire pane in a consistent way, without requiring you to manually place dozens of individual decals. Some films are designed to look frosted or etched and are barely noticeable from inside. Others use dot or stripe patterns that conform to the 2-inch spacing standard. If you want a clean, long-term solution for a problem window, film is often the right answer. You can explore the best window film to prevent bird strikes to find options that balance visibility, aesthetics, and durability.
One practical note: apply film to the outside of the glass whenever possible. Canadian federal guidance and Audubon both emphasize that exterior application is more effective because that's where the reflection or transparency problem exists for the bird. Interior film helps less because it doesn't change what a bird sees from its approach angle.
Bird-safe glass and UV-patterned glass
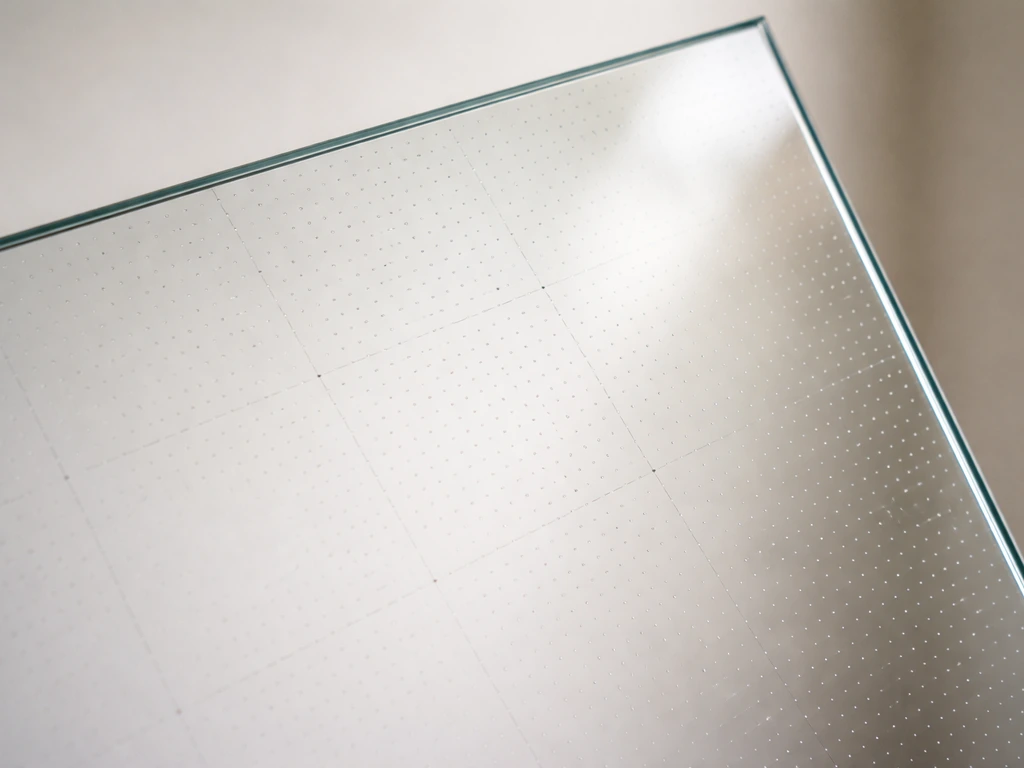
If you're replacing windows or building new, bird-safe glass with UV-etched patterns built into the pane is the cleanest long-term option. The Iowa DNR recommends this specifically as a durable solution because the patterns are permanent and integrated into the glass itself. It costs more upfront but eliminates the need for ongoing treatment and replacement.
Physical barriers and exclusion methods
If visual treatments alone aren't enough, or if you have a window with extreme bird pressure, physical barriers are the most reliable solution. The logic is simple: if a bird can't reach the glass, it can't hit the glass.
The most effective barrier option is exterior netting or mesh installed in front of the glazing. According to American Bird Conservancy guidelines, the mesh or netting must be installed in front of the glass (not against it), be taut and seamless to prevent birds from becoming entangled, and have a maximum aperture of 19 mm x 19 mm (about 3/4 inch). This is small enough that birds can't push through but large enough that they won't get their heads stuck. The netting acts as a buffer zone: birds might fly toward the window but bounce harmlessly off the net before reaching the glass.
Insect screens (standard window screens) offer partial protection as a side effect. They disrupt the reflection and reduce transparency, which does reduce collision risk somewhat. But standard screens typically have gaps that are too large to be fully effective as exclusion barriers, and their netting material is generally not rated for bird contact. Purpose-built bird netting installed at a standoff distance from the glass is a different product with a different function.
For commercial or high-traffic buildings, welded wire grilles or exterior louvres can achieve the same result with more structural permanence. These are more expensive but require less maintenance than netting. Both options work best when installed by someone familiar with anchoring systems and building envelope considerations, especially above the ground floor.
A safety note for anyone working above ground level: any installation on upper-floor windows requires appropriate fall protection equipment and ideally a second person present. Don't attempt to apply exterior films, netting, or hardware on high windows from a ladder without proper safety setup. For multi-story commercial buildings, this work should generally be contracted out.
Sensory deterrents that can help (and some that can't)
Sound-based deterrents are often marketed for bird problems, so it's worth being direct about what they can and can't do for window strikes specifically.
Ultrasonic devices don't work for birds. Natural Resources Wales guidance is unambiguous: most birds simply cannot hear in the ultrasonic range, so devices that emit ultrasonic frequencies have no deterrent effect on them. Don't spend money on these for a window-strike problem.
Audible sound deterrents (predator calls, distress calls, or alarm sounds) can discourage birds from gathering near specific areas, which can reduce the frequency of birds approaching problem windows. These are more useful in situations where birds are loitering near a feeder or roosting near a window rather than passing through during migration. They work best as a supplemental tool alongside visual or physical treatments, not as a standalone fix.
Visual deterrents like hanging reflective tape, spinning pinwheels, or predator decoys (plastic owls, hawk silhouettes) can reduce bird activity in a general area temporarily. Birds habituate to stationary deterrents quickly, sometimes within days. If you use visual deterrents, move them frequently to maintain any deterrent effect. These are better suited to keeping birds away from a garden or patio area than to solving a specific window-strike problem.
One thing that genuinely helps: turning off or reducing interior lighting at night during migration seasons. Bright interior lights at night attract nocturnal migrants, who can become disoriented and collide with lit windows. This is especially relevant for taller buildings in known migration corridors, but even in a single-family home, darkening bright windows at night from late March through May and again in September through November makes a real difference.
How to choose the right method for your building and bird pressure
The right treatment depends on three things: window type, location, and how much bird activity you're seeing. Here's how to think through it.
| Situation | Best starting approach | Escalation option |
|---|---|---|
| Home window, occasional strikes | Exterior decals or clings with proper spacing | Patterned window film on exterior |
| Home window, frequent strikes | Exterior patterned window film | Exterior netting on standoff frame |
| Window near feeder or bird-heavy shrubs | Film or full-coverage decals + move feeder closer than 3 ft or farther than 30 ft | Netting as physical barrier |
| Large commercial window, low-rise | Patterned film or UV film across full pane | Exterior screen or welded wire grille |
| Upper-floor window, commercial building | Professionally installed exterior film or fritted glass | Contracted netting or grille installation |
| Migratory season spike in strikes | Lights-out at night + existing treatments | Review and tighten spacing on all treatments |
Feeder placement is often overlooked. If a feeder is between 3 and 30 feet from a window, birds flushing away from it hit that window at high speed. Moving the feeder to within 3 feet of the glass (so birds can't build up speed) or farther than 30 feet away (so the window isn't in their flight path) reduces strikes significantly without touching the glass at all.
For homes and small buildings, start with the highest-traffic windows first: the ones where you've found dead or stunned birds, or that face trees and open sky. Don't try to treat every window at once. Prioritize the problem areas, get those right, then expand.
For larger or commercial buildings, consider the building's position relative to migration corridors and greenspace. A building near a park, wetland, or tree canopy will see higher bird pressure than one surrounded by paving. Seasonal spikes in collisions are a sign that your treatments need to be robust enough for peak periods, not just average days.
Measuring results and knowing when to call a pro

Once you've applied treatments, the only way to know if they're working is to monitor. The U.S. Fish and Wildlife Service's Bird-Friendly Campus Toolkit recommends setting up a simple monitoring routine: walk the perimeter of treated windows regularly and record any collision evidence (dead birds, feathers, marks on glass, or stunned birds). Do this at least once a day during migration seasons, or after any period of rain that might reveal fresh impact marks on the glass.
Track where collisions are still happening. If strikes are continuing on a treated window, check your spacing first. Are pattern elements truly within 2 inches of each other across the whole pane? Are there any gaps, seams, or corners that were left untreated? Those gaps are often where birds get through. American Bird Conservancy's escalation logic is practical: start with the highest-risk windows, verify whether the treatment worked, then expand or upgrade as needed based on what you observe.
A few maintenance tasks to keep treatments effective over time:
- Check UV decals seasonally for fading; replace them before migration seasons if they look worn
- Inspect netting or mesh for tears, sagging, or attachment point failures after storms
- Clean exterior films gently with non-abrasive cleaners to maintain visibility and adhesion
- Recheck feeder placement if you move them throughout the year
- Adjust night lighting protocols each spring and fall migration window
If you've applied correct treatments to a problem window and are still seeing multiple strikes per week, it's worth bringing in a professional. Some windows have geometry or reflection patterns that are genuinely difficult to address with off-the-shelf products. A bird-safe building consultant or a glazing specialist familiar with bird-safe design standards can assess whether the glass itself needs to be replaced or if the installation approach needs to change. This is especially relevant for commercial buildings with large curtain-wall systems, where the scale of the problem is beyond what DIY methods can realistically address.
The bottom line: most residential window-strike problems can be solved with the right exterior treatment applied at the right spacing, monitored consistently, and adjusted over time. Start outside, cover the whole pane, keep the spacing tight, and check your work. That's the core of it.
FAQ
I covered the window with decals, but birds still hit it. What should I check first?
If birds are still hitting after you apply a pattern, the first thing to check is whether any untreated “lines of sight” remain (edge strips, corners, mullion gaps, or a strip that got missed when you installed decals). Then confirm the spacing rule is met across the whole pane, not just in the center. A quick way is to stand inside at night and look through the pattern toward the sky, then inspect the exterior up close for gaps or seams.
Can I prevent bird strikes by treating the inside of the window instead of the exterior?
Yes, but only if the inside treatment changes what the bird sees from the outside. That means you still need an exterior-facing solution (pattern, film, or screens) for most cases, because birds approach based on the exterior reflection or outside view. Interior blackout curtains can help when the main issue is see-through from inside, but they are much less reliable on strongly reflective glass.
How do I make sure my DIY tape or paint pattern is spaced correctly after it dries?
Measure the spacing between pattern elements as installed, not as designed. If you used tape, paint pens, or markers, the edges of the marks can leave wider gaps than you expect when they dry. For temporary options, expect fading or smearing after rain and sunlight, and plan to reapply if you see impacts return.
Do large windows require full coverage, or is a border or a few stickers enough?
Avoid relying on a single vertical strip or a few widely spaced stickers on large panes. Birds can thread through larger openings at approach angles, especially when windows reflect open sky. For large windows, use full-pane coverage with a dense pattern, and ensure there are no larger “blank zones” that align with flight paths.
Will turning off interior lights improve results after I add a window pattern or film?
It can, especially if lighting is part of the lure. After you install exterior film or decals, turn down interior lights at night during migration months, and close blinds on those windows that still show through to other bright rooms. This reduces both collision attempts and disorientation from bright glass.
What feeder-distance changes reduce bird strikes the most near treated windows?
Feeder placement is a high-leverage adjustment that often helps even before you finish glass treatments. If you can, move the feeder to within about 3 feet of the window to reduce the flight build-up, or place it farther than about 30 feet away so the window is less likely to be in the birds’ flight path. Keep feeders out of line with dense shrubs that act as launch points.
Are UV-reflective decals reliable year-round, including in winter and low-light conditions?
Yes, and they often produce stronger outcomes than you expect when installed correctly. However, only use UV-reflective or UV-bright products if you can replace them seasonally, because visibility to birds can drop in low light and the pattern can fade. If you live in a region with long winters or frequent low-light conditions, prioritize a non-UV patterned exterior film or decals with obvious visible contrast as a backup plan.
Should I treat every window at my home, or only the ones with the most strikes?
If the collisions are concentrated on one pane of a multi-pane window, you do not necessarily need to treat everything immediately. Start by treating the highest-hit pane or the area where marks show up, then expand outward once you confirm reduced strikes after a monitoring period. But if impacts are across multiple panes, treat the whole exterior face so birds do not find the remaining clear sightlines.
How should I monitor and track collisions without missing patterns after changes?
If you find dead or stunned birds, remove evidence safely (gloves recommended), and resume monitoring the day after to assess whether impacts decrease. For tracking, mark the exact window, note whether it was after rain or during migration peaks, and look for fresh glass marks within 24 hours so you can correlate problems to times of day and lighting conditions.
When is it worth hiring a professional instead of adding more decals or thicker film?
If you still see multiple strikes per week after correct spacing and full coverage, it is a strong sign the installed pattern may not be altering what birds perceive for your specific glass angles. At that point, consider a professional assessment for a better-fitting exterior film or for whether the glazing needs replacement (common with large curtain-wall systems or unusual reflectivity).
Next Article
Best Bird-Window Strike Prevention: Do This Today Guide
Fast guide to best bird-window strike prevention: diagnose reflections, choose effective films, screens, deterrents, and