Window clings for bird safety work, but only if you cover enough glass and put them on the right surface. The single hawk silhouette sticker most people try first does almost nothing. What actually stops birds is a dense, repeated pattern of markers across the entire window, applied to the outside of the glass, spaced no more than 4 inches apart horizontally and 2 inches apart vertically. Get those two things right and you will see a real drop in strikes, often within days.
Window Clings for Bird Safety: How to Install and Verify

Marcus Weatherby
17 May 2026
What bird safety window clings are and why they work
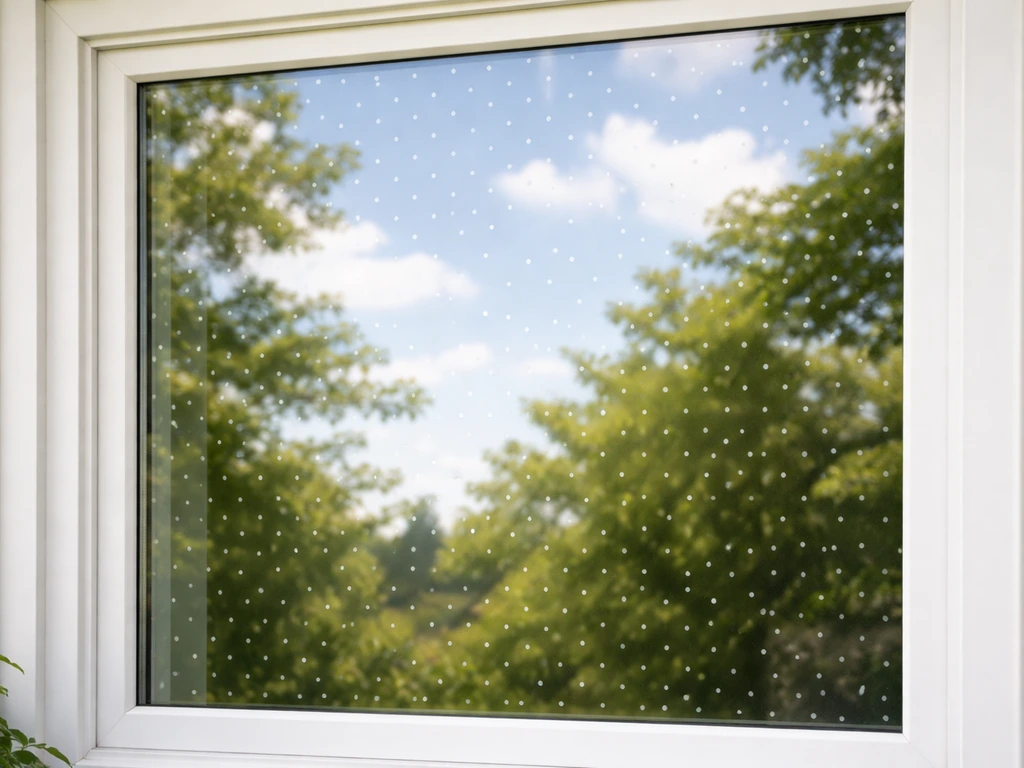
Birds hit windows because glass is invisible to them. They see the sky, trees, or open space reflected in the glass and fly straight toward what looks like a clear path. Window clings, decals, and external films work by making the glass surface visible as a solid object rather than a gap.
The product category covers a range of options: static-cling decals, adhesive dot or stripe patterns, UV-reflective films, and tape products like ABC BirdTape (Feather Friendly). Some products are visible to the human eye, some use ultraviolet-reflective coatings that birds can see clearly but humans barely notice. Either type works, as long as the coverage is dense enough. The Ornithology Center’s consumer guide also emphasizes that effective prevention depends on correct, sufficiently dense decal placement and coverage, not just using a single sticker Either type works, as long as the coverage is dense enough..
Research backs this up clearly. Studies on UV-reflective external window film (like BirdShades) found it reduced bird-window collisions for songbird species when applied to the outside of the glass. Controlled experiments confirmed that films only increased collision avoidance when placed on the exterior surface. Interior placement showed no benefit at all. One summary of the research put the reduction at more than 35% with correct exterior application. So placement side matters enormously.
Where to use them
Any glass that reflects sky, vegetation, or open space is a collision risk. That said, some windows are far more dangerous than others. Large picture windows, floor-to-ceiling glass walls, sunrooms, sliding glass doors, and corner windows where two panes create an apparent flythrough are the biggest offenders. Balconies and patios surrounded by trees or shrubs are especially bad because birds are flying at low speed through familiar habitat and simply do not register the glass.
Office buildings with large exterior glazing see strikes throughout the day, especially during migration seasons in spring (March through May) and fall (August through November). At home, windows near bird feeders or birdbaths are high-risk because birds are actively moving back and forth at speed. If you find a stunned or dead bird under a window more than once, that window is worth treating immediately.
Corner windows and windows opposite each other in a room deserve special attention. Birds perceive these as a corridor they can fly through, so both panes need treatment, not just one.
How to choose the right cling
There are three things to evaluate when picking a product: coverage ability, visibility level, and durability for your climate.
Coverage and opacity
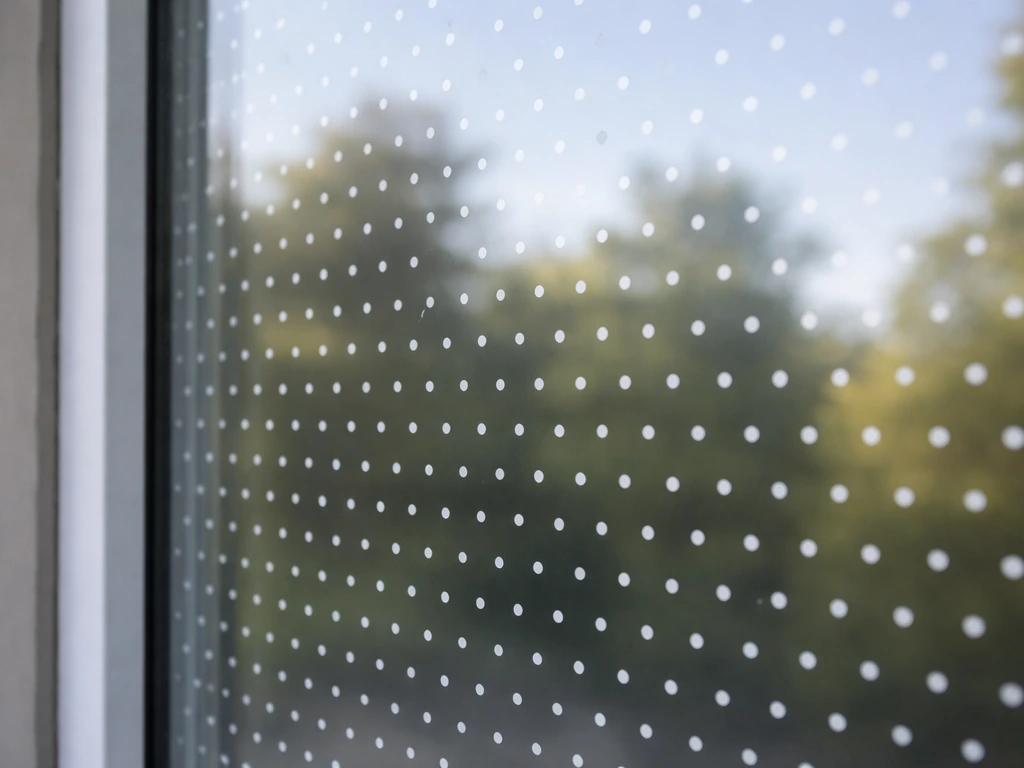
A product is only as good as the pattern it creates across the full window. Avoid anything marketed as a single decorative sticker. Look for products sold as repeating pattern systems: adhesive dots, grid tapes, stripe films, or UV-patterned sheets. The pattern needs to cover the entire glass, not just a corner or the center.
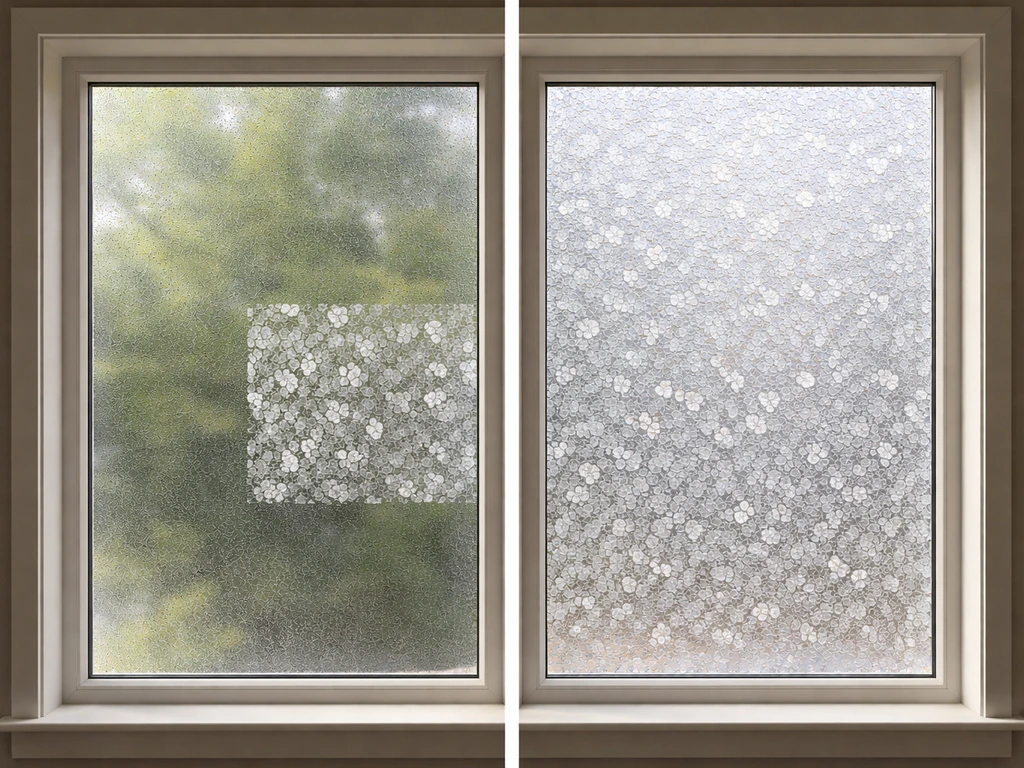
If you want something nearly invisible from inside, UV-reflective films and small-dot patterns (like Feather Friendly's quarter-inch dots) are the best compromise. If visibility from indoors does not matter, frosted or opaque stripe films are simpler to apply and very effective.
Durability and weather resistance
Since these go on the outside of the glass, they need to survive rain, UV exposure, temperature swings, and cleaning. Look for products specifically rated for exterior use. Most dedicated bird-safety products (ABC BirdTape, CollidEscape, BirdShades film) are designed for this. Generic window clings from a craft store are not and will peel or fade within a season.
Window coating compatibility
If your windows have a low-E coating, tinted film, or other factory treatment, check the product's compatibility notes before applying adhesive films. Most dot-pattern tapes and static clings are safe for coated glass. Aggressive adhesive films can sometimes damage soft coatings or void window warranties, so when in doubt, contact the product manufacturer or your window installer first.
Quick comparison of common product types
| Product Type | Visibility to Humans | Exterior Rated | Best For | Typical Lifespan |
|---|---|---|---|---|
| UV-reflective film (e.g., BirdShades) | Nearly invisible | Yes | Large windows, aesthetics-conscious users | 3-5+ years |
| Adhesive dot/tape pattern (e.g., Feather Friendly, ABC BirdTape) | Low to moderate | Yes | All window sizes, DIY-friendly | 2-5 years |
| Stripe/frosted adhesive film (e.g., CollidEscape) | Moderate | Yes | Large glass walls, sunrooms | 3-5 years |
| Generic static-cling decals | Variable | Usually no | Temporary or indoor-only use | Under 1 season |
| Paracord BirdSavers | Visible | Yes | Exterior frames, large picture windows | Several years |
How to install: prep, placement, and spacing
Installation done wrong is almost as ineffective as no installation at all. Follow these steps and you will get the full benefit of whatever product you choose.
Surface preparation
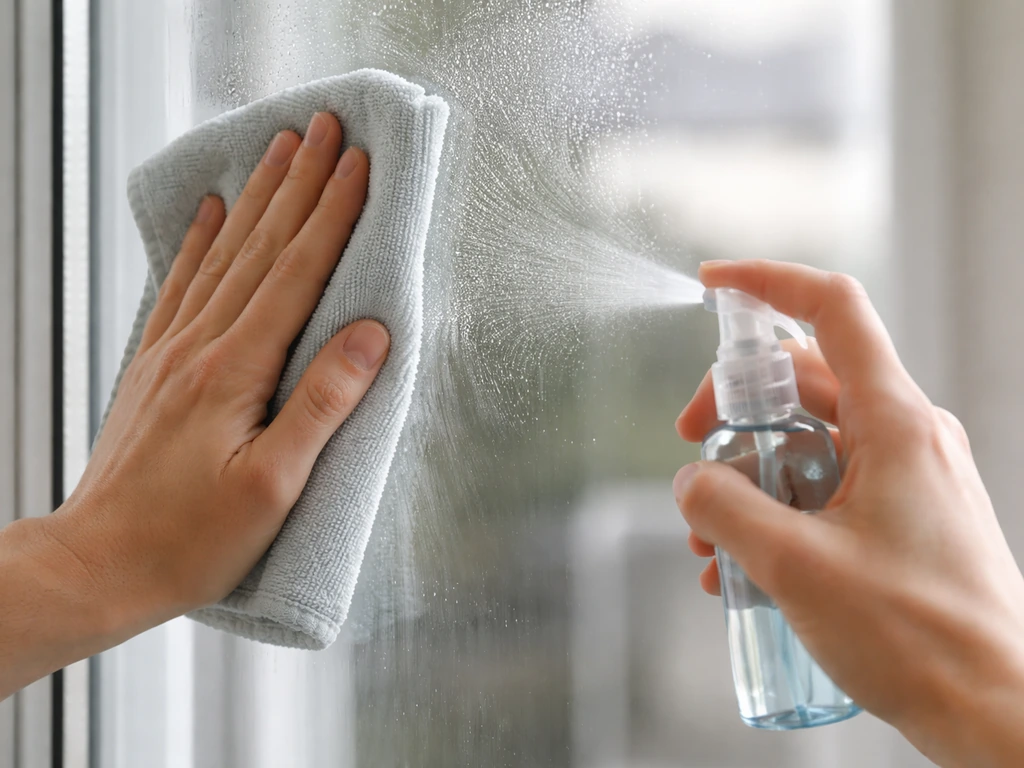
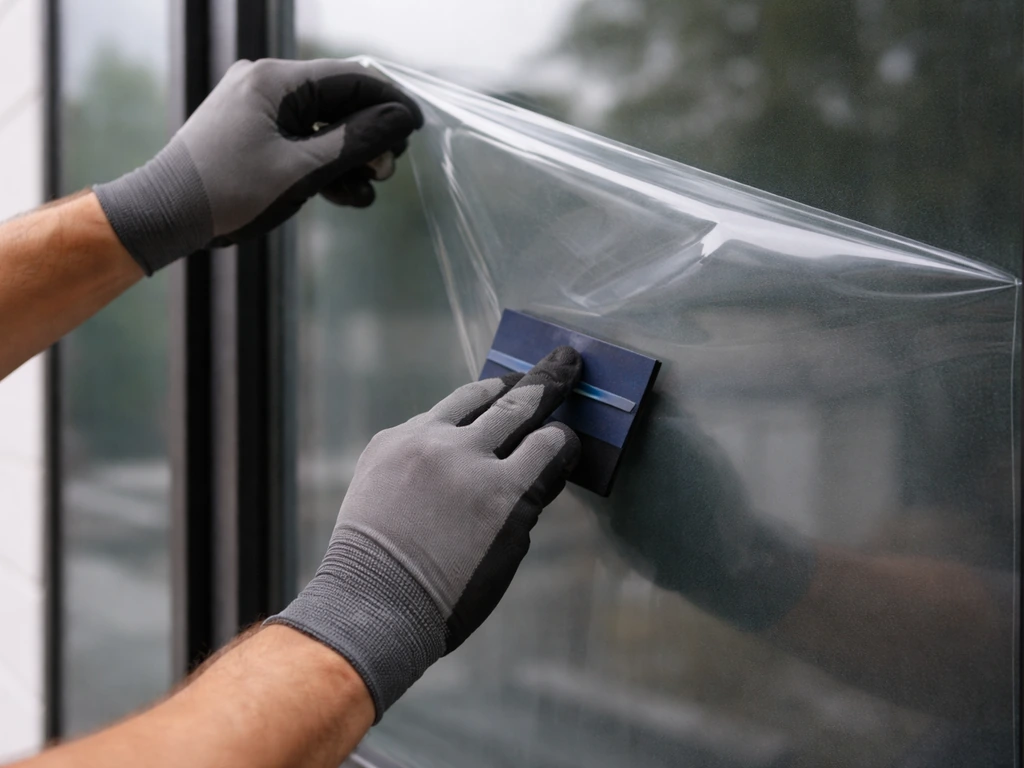
Clean the outside glass thoroughly before applying anything. Use clean water or a mild glass cleaner and a lint-free cloth. Remove all dust, grease, and residue. Any contamination under the adhesive will cause premature peeling and gaps in coverage. For adhesive-backed products, CollidEscape's own guidance recommends installing early in the day before the sun heats the glass, or cooling the surface with cold running water just before application. This helps the adhesive bond properly and prevents air bubbles.
Spacing rules (this is where most people go wrong)
The spacing between markers is the single most important factor in whether this works. For the best bird-window strike prevention, focus on dense, repeating coverage and proper exterior placement, not just a single decorative marker. Birds need to see the markers as a continuous barrier, not as widely spaced obstacles they can fly between. Here are the accepted standards based on Audubon guidance, LEED v5 bird-friendly building criteria, and FLAP Canada's BirdSafe standard: FLAP Canada’s BirdSafe® Building Standard specifies marker spacing limits on the order of 5 cm (about a 5×5 cm grid) and recommends using qualified personnel for installation of the chosen visual marker(s) blank" rel="noopener noreferrer">FLAP Canada's BirdSafe standard.
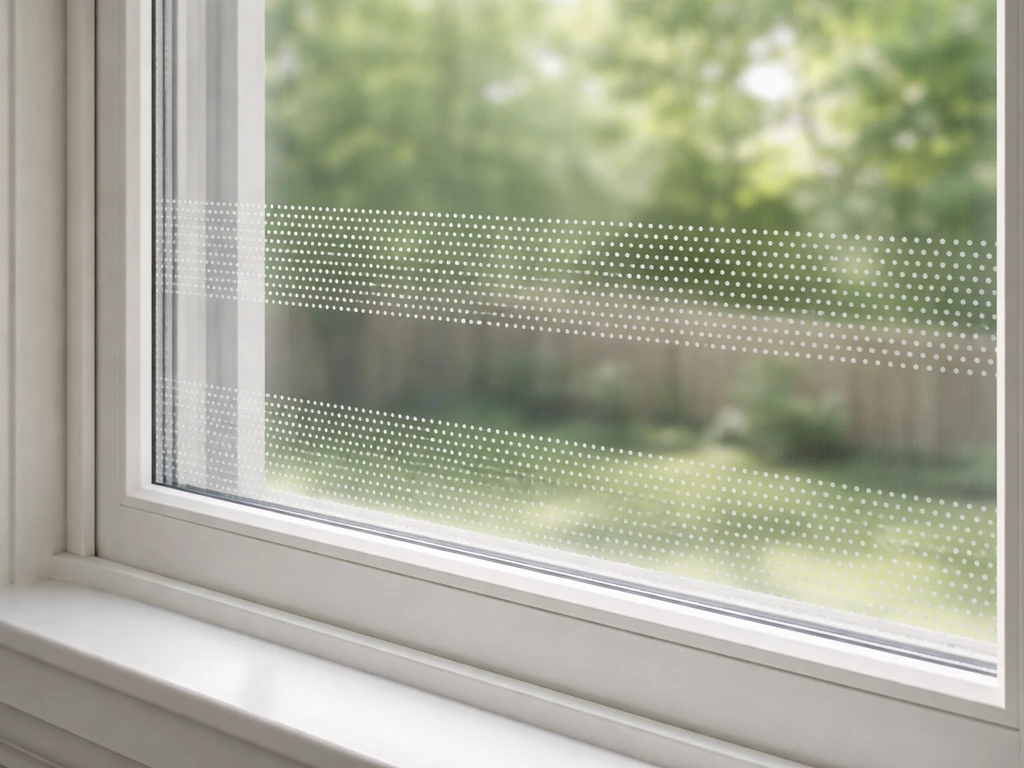
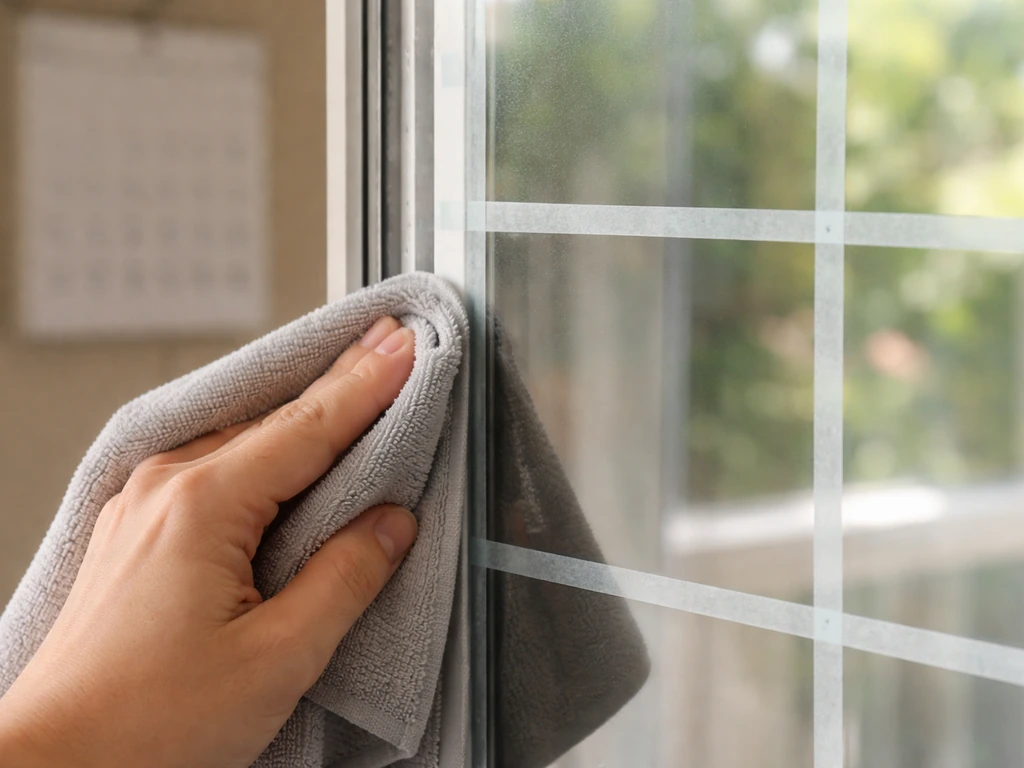
- Vertical stripes or markers: at least 1/4 inch wide, spaced no more than 4 inches apart
- Horizontal stripes or markers: at least 1/4 inch wide, spaced no more than 2 inches apart
- Grid pattern (dots or squares): maximum 2 inches by 2 inches between markers, or 2 inches by 4 inches for some products
- FLAP Canada's BirdSafe standard caps marker gaps at approximately 5 cm by 5 cm (about 2 inches by 2 inches)
The stricter 2x2 inch grid is the safest target if birds are hitting frequently or if you have small species like hummingbirds at your property. For general residential use, the 2-inch vertical by 4-inch horizontal spacing is the most widely recommended and practical to achieve.
Coverage and height
Cover the entire pane from edge to edge and from top to bottom. Do not leave large bare patches at the top or sides. Birds approach from any angle and altitude. If you are treating a tall window, start at the top and work downward in horizontal bands so you can maintain even spacing without gaps.
Step-by-step installation
- Clean the outside glass surface thoroughly and let it dry completely.
- If using adhesive film or tape, work in the early morning or on a cool day to avoid surface heat issues.
- Mark a grid lightly on the glass with a removable chalk marker or tape measure to guide your spacing.
- Apply the first row of markers or the first strip of film at the top edge of the glass.
- Continue downward, keeping spacing consistent with the 2-inch vertical rule.
- Use a squeegee or credit card to press out air bubbles on film products as you go.
- Once complete, step back and look at the window from the angle a bird would approach. Any large clear gap is a problem.
- Remove your spacing guides and clean any fingerprints from adjacent glass.
When and how to combine with other bird control methods
Window clings and films are a strong first line of defense, but they are not always enough on their own, and they are not the right tool for every situation. Knowing when to layer in other methods makes a real difference.
If strikes are continuing after correct cling installation, the next most effective addition is external netting or screening hung a few inches out from the glass. The Wildlife Center of Virginia and USFWS both highlight this approach: a net or screen installed with a small gap (even just 2 to 3 inches) in front of the glass lets birds safely bounce off instead of hitting hard glass directly. This is especially useful on large commercial windows or sunrooms where full cling coverage is difficult to maintain.
For high bird-pressure environments like properties near migration corridors, large feeders, or dense landscaping, consider combining window clings with one or more of the following. Some sites in this niche also cover window films specifically designed to treat the entire pane (rather than a pattern of dots), which can complement or replace individual clings on large commercial glass.
- External insect screening: installed a few inches in front of the glass to create a safe deflection surface
- Exterior shading or awnings: reduce reflectivity and glare that makes glass look like open space
- Moving bird feeders far away from windows: ideally under 3 feet (where a strike won't be fatal) or over 30 feet away
- Visual deterrents like hawk kites or tape streamers: useful on balconies or near outdoor seating where clings are impractical
- Keeping interior blinds or curtains partially closed: reduces the transparency that confuses birds
For commercial properties, facility managers should look at building-wide approaches. The USFWS Bird-Friendly Building Toolkit and FLAP Canada's BirdSafe standard both describe design-level solutions that go beyond individual window treatments, including lighting management to reduce nighttime attraction during migration. At that scale, professional assessment is worth scheduling alongside any DIY cling installation.
Aviation contexts are a different category entirely and follow FAA-specific wildlife hazard management guidelines rather than residential deterrent methods. That distinction matters if you are managing a facility near an airfield.
What to do right now if birds are hitting today
If strikes are happening and your clings have not arrived yet, close the blinds or pull curtains on the problem window immediately. You can also tape newspaper or kraft paper to the outside of the glass temporarily. It looks rough but stops strikes within hours. Move any feeders or birdbaths that are near the window. These are bridge steps, not solutions, but they matter while you wait for proper treatment. To prevent bird strikes on windows long term, install the right outside-of-glass repeating pattern and keep coverage consistent across the entire pane.
If a bird hits and is stunned, place it gently in a small cardboard box in a dark, quiet spot for 15 to 30 minutes. Most stunned birds recover and fly away. If it does not recover or shows signs of injury, contact a local wildlife rehabilitator.
Safety, maintenance, and troubleshooting after installation
Non-toxic and weather-safe materials
All major bird-safety cling and film products are non-toxic and safe for birds, people, and pets. The UV-reflective coatings used in products like BirdShades contain no hazardous chemicals. Static clings contain no adhesive at all. If you are uncertain about a product, check whether it is specifically marketed for bird-strike prevention, which implies it has been formulated for exterior, weather-exposed use without toxicity concerns.
Maintenance over time
Inspect your treated windows at least twice a year, ideally before each migration season. Look for peeling edges, faded markers, or sections that have lifted away from the glass. Even a few missing dots or a peeled strip creates a gap that birds can exploit. Reapply any sections that have failed. Most exterior-rated products last two to five years before needing full replacement, but adhesive edges can begin lifting sooner in very hot or wet climates.
Clean treated windows gently. Avoid abrasive scrubbers or solvents near adhesive film edges. For dot-pattern products, a soft damp cloth or a mild spray cleaner is usually fine over the dots themselves. Check the specific product's cleaning instructions, as some UV films can be degraded by ammonia-based cleaners.
Troubleshooting: birds are still hitting after installation
If strikes continue after you have applied clings, go through this checklist before assuming the product does not work:
- Check that the clings or film are on the outside of the glass, not the inside. Interior application has no measurable benefit.
- Measure your actual spacing. Most DIY installs end up with gaps too wide. Aim for no more than 4 inches horizontally and 2 inches vertically.
- Look for uncovered sections at the edges or corners of the pane. Birds find and use any large clear gap.
- Check whether the strikes are at a different window than the one you treated.
- Consider whether a nearby window is now reflecting the treated window back at birds, creating a new confusion point.
- If spacing is correct and placement is exterior, add external netting as a second layer of protection.
Results are not always instant. In most cases, strike frequency drops within a few days of correct installation as birds in the area learn the window is a barrier. During peak migration, some collisions may still occur as new birds passing through encounter the window for the first time. If strikes persist beyond two to three weeks of correctly installed clings, move to a layered approach with external netting or consult a professional bird control service for a full site assessment.
FAQ
Can I install window clings for bird safety from the inside and still expect results?
Yes, but only if it is applied to the outside surface and creates a repeating pattern. If you can only reach from inside (or you cannot reliably cover the full pane), the risk is that coverage will be patchy or on the wrong side, which is why many products show no improvement when installed incorrectly.
What if my window has multiple panes (double-pane or insulated glass), where do the clings need to go?
If your window has two panes with an insulating gap, you still want the bird-deterrent on the outside-facing surface of the glazing. A common mistake is applying to an interior pane that does not interrupt the reflected “flythrough” birds see, leading to poor performance even with the correct spacing.
How do I tell if a decorative window cling is actually enough for bird safety?
Avoid any product marketed as “decorative only,” or that ships as a few isolated silhouettes. Even if it looks covered, birds can find gaps through the reflection, so confirm it is sold as an exterior bird-strike prevention system with a dense repeating grid, dots, stripes, or an exterior UV-pattern.
My clings partially peeled in one corner, should I remove everything or can I patch it?
You do not need to start over, but you do need to fix gaps immediately. Replace missing sections so the pattern remains continuous across the entire pane, especially near the outer edges and corners, since birds often approach from different angles and will exploit any uncovered strip.
Do static-cling decals last as well as adhesive dot or stripe patterns for bird safety?
Static cling products can work, but only when they stay flat and fully adhere outdoors. In windy, rainy, or high-sun areas, edges often lift first, creating usable gaps, so inspect more frequently in the first 30 days and reapply any lifted sections right away.
What causes air bubbles or uneven spacing, and how do I prevent it during installation?
Most bird-safety cling patterns are designed for the full exterior pane, but direct sunlight can heat an unclean surface and reduce bonding. For adhesive-backed systems, clean thoroughly and apply when the glass is cool to minimize bubbles and rolling edges that create inconsistent spacing.
Can I layer window clings on top of existing window film or treatments?
If the window already has bird-friendly film, the safest approach is to avoid “layering” unknown products. Remove or replace conflicting films if they reduce visibility of the pattern to birds or interfere with adhesion, because two layers can sometimes create trapped moisture or blur the marker pattern.
If strikes continue after correct cling installation, what’s the fastest next step?
For high bird-pressure locations, you may need both the cling and a second barrier. When strike activity continues after correct exterior placement and dense spacing, add external netting or screening installed with a small gap, and consider adjusting nearby attractants like feeders or water sources.
Are blinds, curtains, or newspaper taped outside actually useful while I’m waiting for the clings?
Yes, but temporary measures should be treated as stopgaps. Closing curtains or blocking the “problem view” can reduce strikes within hours, but it does not replace long-term outside-of-glass repeating pattern coverage, since birds resume when the window becomes visible again.
How long should I wait to judge whether the window clings for bird safety are working?
Treat the treated window as still a hazard until you verify results. Birds learn over days, but if you see continued collisions beyond about two to three weeks despite correct exterior, full-pane coverage, you likely have a spacing or placement issue, or the need for a layered solution.
Are window clings safe for low-E or tinted windows, and how can I check compatibility?
If you have low-E or tinted glass, compatibility matters because some adhesives or films can damage coatings or shorten warranty coverage. Look for product guidance that explicitly lists compatibility with coated or low-E glass, and when in doubt, ask the manufacturer or window installer before you apply.
What’s the safest way to clean windows after installing bird-safety clings or films?
For cleaning, keep it gentle around edges and avoid harsh solvents that can lift adhesive boundaries. If your product instructions mention it, use only mild cleaners, and avoid ammonia-based solutions for UV films, since these can degrade coatings and reduce the bird-visible marker effect.
Will moving feeders and birdbaths help even after I install window clings?
Feeding and bathing behavior matters. If birds are repeatedly targeting the same window, temporarily relocate feeders and birdbaths, then confirm the cling covers the entire pane with the right spacing so the birds have no clear “gap” to exploit.
Next Article
Best Window Decals to Prevent Bird Strikes: How to Pick and Install
Choose and install the best window decals to reduce bird strikes with placement, spacing, and testing tips for any glass