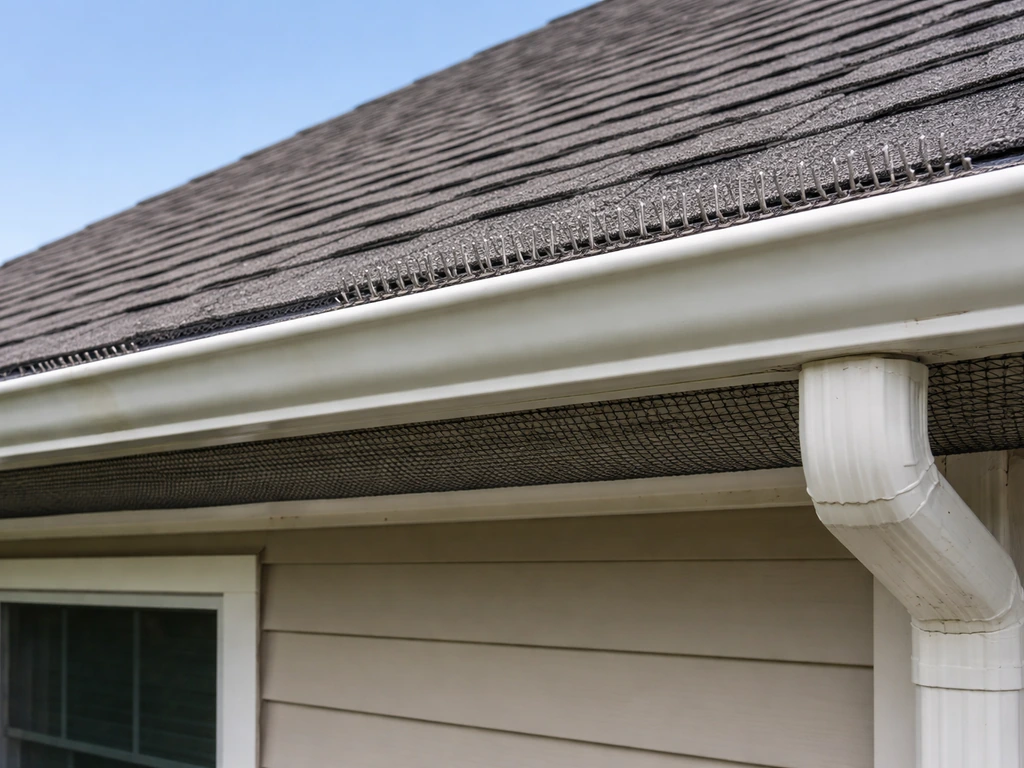
A solar panel bird guard is a physical barrier, usually a mesh strip or spike strip, that runs around the perimeter of your solar array to stop birds from getting underneath and nesting. Bird proofing is the process of sealing and deterring birds so they cannot nest or access gaps around roof or solar panel edges. You clip or press it to the outer edge of the panel frame, it seals the gap between the panel and the roof, and birds lose access entirely. No drilling required for most systems, no harm to the panels, and no voided warranty if you use the right attachment method.
How to Install Bird Guard on Solar Panels: DIY Guide

Marcus Weatherby
30 Jun 2026
What a bird guard actually is and what to buy
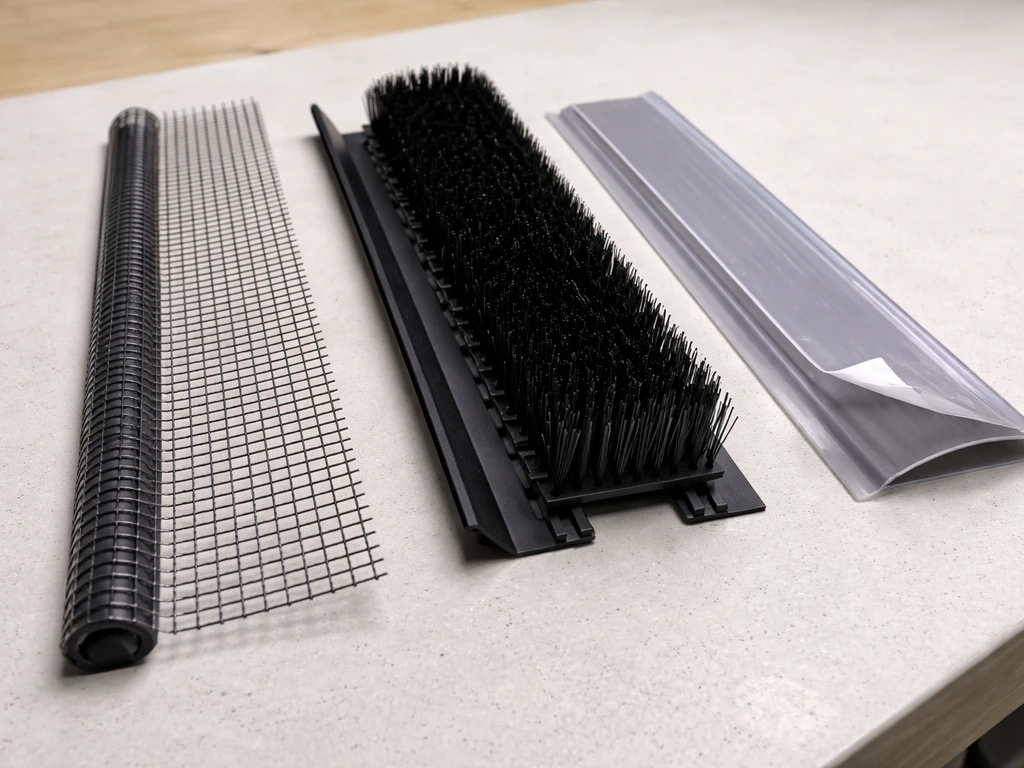
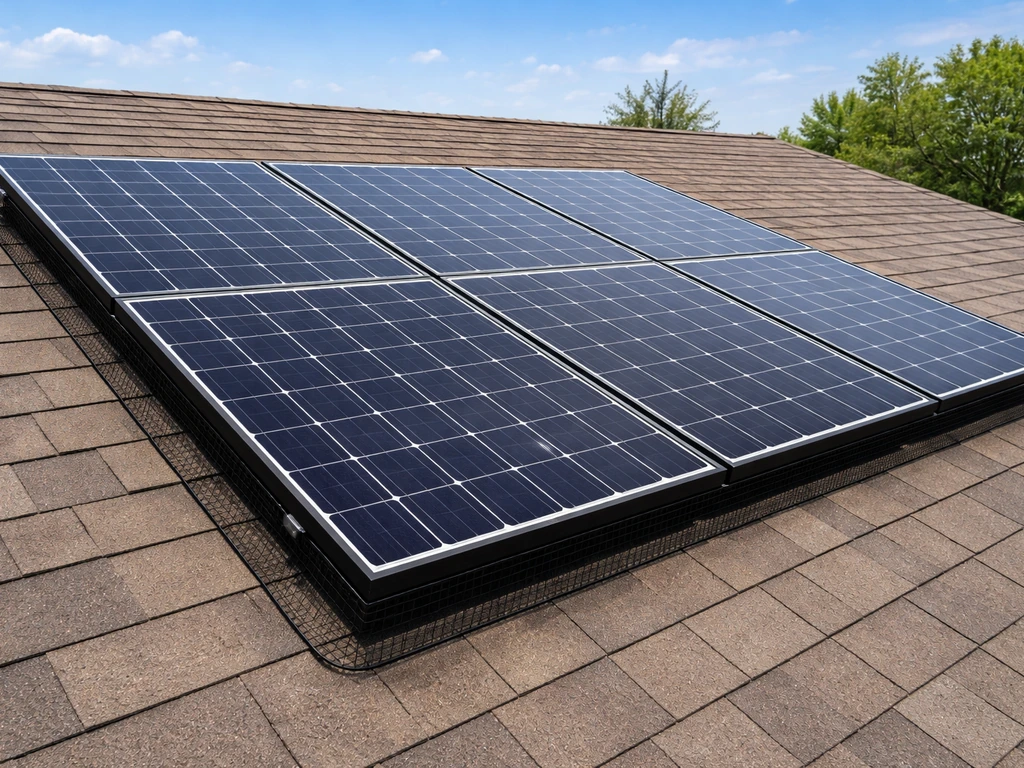
In the solar context, "bird guard" usually means one of two things: a wire mesh barrier that wraps around the panel perimeter, or a brush/spike strip that sits along the frame edge. Both block the gap between the bottom of the panel and the roof surface. Mesh systems give you total exclusion because there is literally no way in. Spike or brush strips deter perching on the frame rail but can still leave gaps underneath if not paired with something that closes the cavity.
For most homes, a dedicated solar panel mesh system is the better call. Products like the BirdBlocker BB125, PV Protector, and Nixalite SolaTrim are all purpose-built for this job. The BirdBlocker BB125 uses a taller needle design and a clipped attachment system that hooks behind the bottom edge of the frame. PV Protector attaches from the outside edge using C-clips, which means you never have to reach underneath the panel. Nixalite's SolaTrim is an adhesive-applied strip that presses directly against the module frame. Bird B Gone also sells solar panel deterrent clips that lock wire mesh to the frame without any drilling.
When choosing, match the product to your gap size. Small birds like sparrows and starlings can squeeze through a gap as small as 20 to 30 mm, so make sure whatever you buy closes tighter than that. Check the product specs against the actual depth of your panel frame before ordering.
| Product | Attachment Method | Best For | Drilling Required |
|---|---|---|---|
| BirdBlocker BB125 | Clips hook behind frame bottom edge | Full perimeter exclusion, standard framed panels | No |
| PV Protector | C-clips on outside frame edge, max 20 cm spacing | Easy exterior install, avoiding underside access | No |
| Nixalite SolaTrim | Adhesive pressed to module frame with J-roller | Low-profile adhesive seal, flat frame surfaces | No |
| Bird B Gone Clips + Mesh | Clip-on, no drill, wire mesh secured to frame lip | Custom mesh sizing, rail or frame systems | No |
| Nixalite Exclusion Clip | Slips over frame lip, retaining nut | DIY setups, standard panel frames | No |
Run through this checklist before you buy anything
Rushing the install is how you end up with gaps, wrong-sized clips, or a warranty headache. Bird proofing cost varies by the type of guard, the amount of perimeter you need to cover, and whether you can complete the install without extra materials or rework how you end up with gaps, wrong-sized clips. Spend 20 minutes on this checklist first.
Bird pressure and nesting status
Before you touch the panels, look and listen. If birds are already nesting under there, you have a legal issue to deal with before installation. Under the Migratory Bird Treaty Act, it is illegal to destroy an active nest that contains eggs or dependent chicks without proper authorization. If you find an active nest, you need to wait until the birds have fully vacated before doing any exclusion work. Once the nest is empty and abandoned, remove it, clean up the debris, and then install your guard.
Mounting geometry
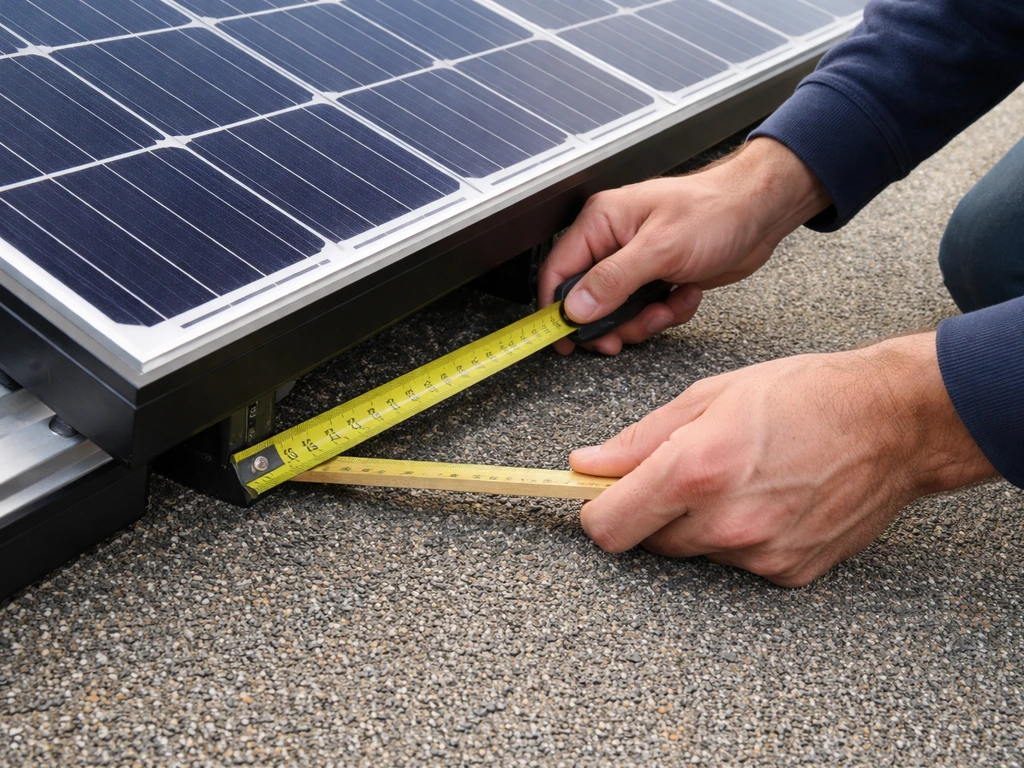
Measure the frame depth and the gap between the panel bottom and the roof surface. Jot down whether your system is rail-mounted (panels sit on aluminum rails bolted to the roof) or rail-less (panels mount directly via brackets, common on standing-seam metal roofs). The attachment method is different for each, and some products are better suited to one setup than the other.
Warranty and installer agreement
Check your solar installer's warranty documentation before you start. Most warranties do not permit drilling through the panel frame or the mounting rails. Every product listed above uses clip-on or adhesive attachment specifically to avoid that issue. The exact cost depends on the area you need to cover, the system type you choose, and how you size the perimeter for your solar array clip-on or adhesive attachment. Still, read the fine print, and if your system is under a service agreement, a quick call to the installer to confirm they are okay with clip-on exclusion products is worth the five minutes.
Roof access safety
If your panels are on a pitched roof, plan your ladder position and your footing before you go up. Never work alone on a roof. Have someone at ground level, and consider a roof anchor and harness if the pitch is anything steeper than 4:12. This is not optional.
Tools and materials you will need
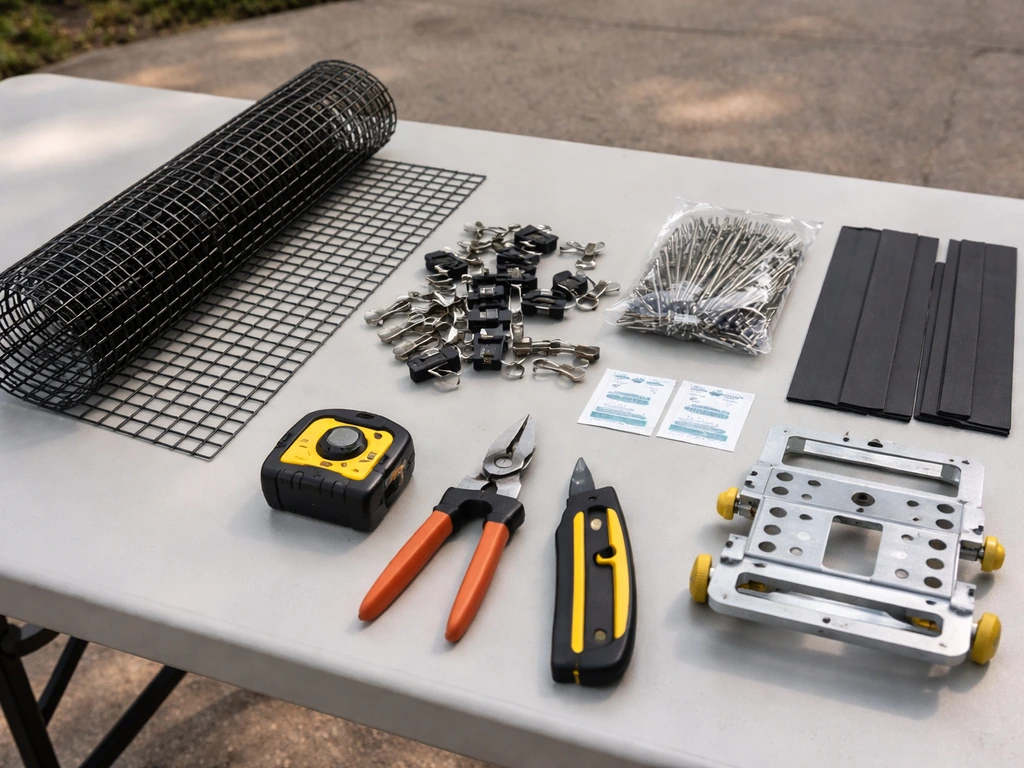
- Solar panel bird guard product of your choice (mesh strip, spike strip, or adhesive barrier)
- Manufacturer-specific clips: C-clips for PV Protector, exclusion clips for Nixalite, or J-hook clips for RoTak/Bird B Gone setups
- Tape measure and marker for spacing clips correctly
- J-roller (required for SolaTrim adhesive application, minimum 15 lbs PSI pressure)
- Wire cutters or snips for cutting mesh or strips to length
- Flathead or Phillips screwdriver for tightening retaining nuts on clip systems
- Soft brush or compressed air for cleaning the frame edge before adhesive application
- Isopropyl alcohol wipes (for adhesive-based systems: clean the frame surface first)
- Ladder rated for your roof height and a roof anchor/harness if pitch exceeds 4: 12
- Gloves and eye protection
Order about 10% more material than your measured perimeter. You will make cuts at corners and overlaps, and having extra on hand avoids a second trip to the supplier mid-install.
Step-by-step installation for rail-mounted and frame-mounted systems
Most residential solar installs are rail-mounted, meaning the panels sit on aluminum rails that run horizontally across the roof. The bird guard clips to the panel frame, not the rail, so the mounting method is basically the same for both setups. The main difference with rail-less systems (like the S-5! For rail-mounted installs versus frame-mounted setups, the same perimeter-exclusion goal applies, so focus on sealing the gaps where birds could get underneath rail-less systems. PVKIT approach used on metal roofs) is that the panels sit closer to the roof surface with a smaller gap, which can actually make your job easier but also means your guard needs to be a lower-profile product.
For clip-on mesh systems (BirdBlocker BB125, Bird B Gone, PV Protector)
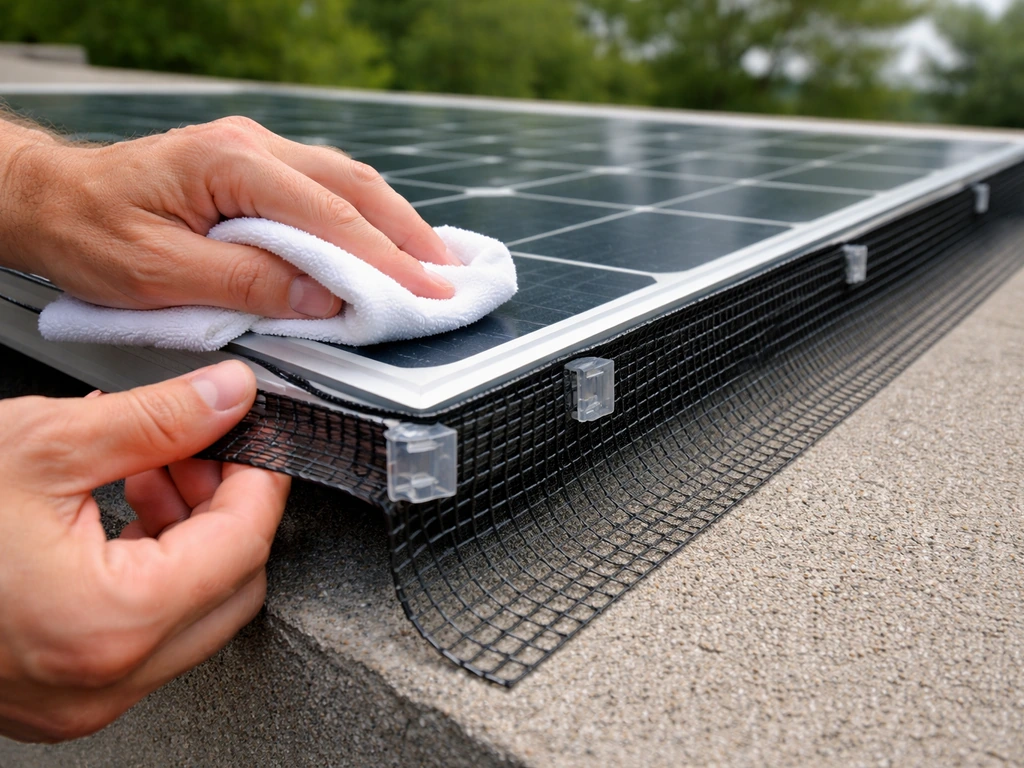
- Clean the panel frame edges with a dry cloth or soft brush to remove dust, droppings, and debris.
- Measure the full perimeter of your array, including the gaps between adjacent panels. Map out how many linear feet of guard you need.
- Start at one corner. Slide or press the first clip onto the outside edge of the panel frame. For BirdBlocker BB125, push the strip toward the panel until the clips hook behind the bottom edge of the frame. For PV Protector, attach the C-clip to the outer face of the frame edge at the starting corner.
- Space your clips evenly. PV Protector specifies a maximum of 20 cm (about 8 inches) between C-clips. Keep to that spacing across all brands unless the product manual says otherwise.
- Continue along the bottom edge of the array, then work up the sides. Keep the mesh taut and flush against the frame with no visible gaps.
- At corners, use the manufacturer's corner-cutting guidance. For BirdBlocker, the manual specifically covers how to cut and fit at corners. For mesh products, cut at a 45-degree angle or use a pre-formed corner piece if the kit includes one.
- At joints between mesh segments, overlap by at least one full clip spacing and make sure the joint is sealed tight. This is one of the two most common mistakes on mesh installs: leaving a gap at the segment joint.
- At the top edge of the panels (the edge closest to the roof ridge), confirm the mesh or strip reaches the roof surface or tile edge. If there is still a gap above the top edge, add a second run of mesh or use foam filler strip rated for outdoor UV exposure.
- Do a final walk around the full perimeter at ground level (or from a safe vantage on the roof) and check every section for visible gaps.
For adhesive systems (Nixalite SolaTrim)
- Wipe the module frame surface with isopropyl alcohol and let it dry fully. Any oil or dust will cause adhesive failure.
- Dry-fit the SolaTrim strip along the frame without removing the backing. This lets you confirm fit, check corners, and mark cut points.
- Cut the strip to length at corners using wire cutters or heavy scissors.
- Peel the adhesive paper backing from the first section.
- Press the strip firmly against the module frame, starting from one end and working toward the other to avoid air bubbles.
- Run the J-roller along the full length of the strip, applying a minimum of 15 lbs PSI pressure. Do not skip this step, the pressure bond is what makes the adhesive hold long-term.
- Repeat for each section, overlapping strip ends slightly at joints.
- Avoid installing in temperatures below 50°F (10°C) since cold reduces adhesive tack. If the roof surface is hot from direct sun, work in the morning before it heats up.
Getting coverage right: no gaps, no dead zones
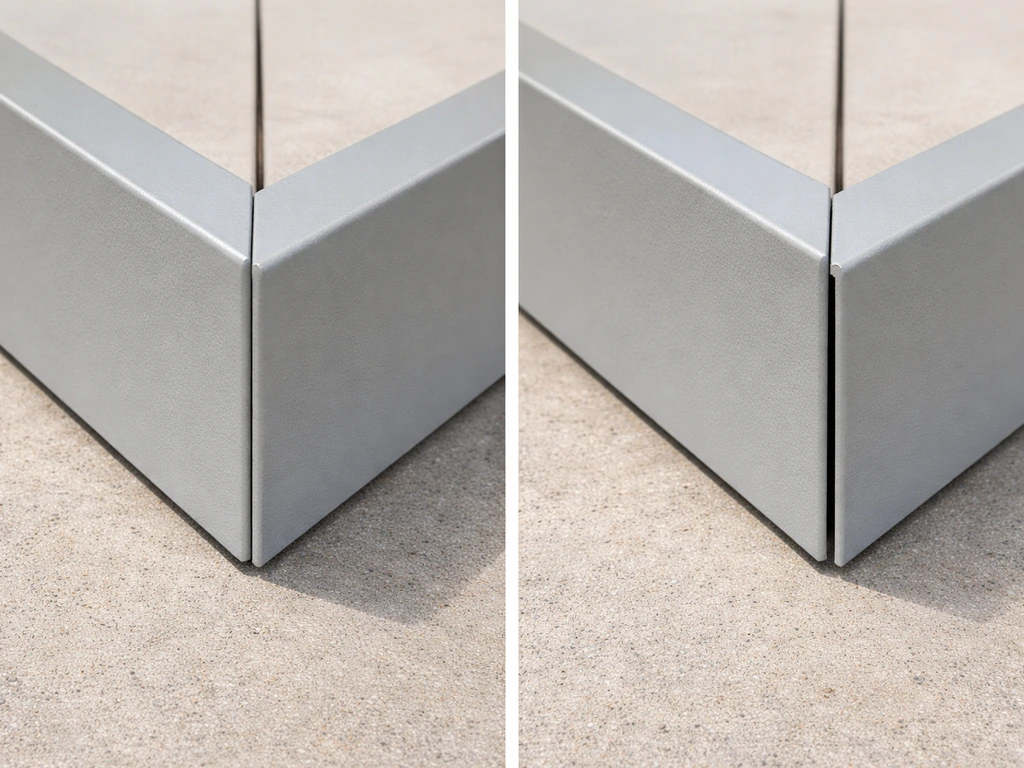
Perimeter continuity is the whole game here. BirdBlocker's guidance is explicit: you must order enough product to completely surround the entire installation. Even one open section of 30 mm or more is enough for a sparrow to get through. Birds are persistent, and if they can find a single entry point, the whole install is compromised. A best dryer vent bird guard can help keep birds from entering dryer vent openings and nesting around the exhaust area.
Pay particular attention to four spots: the corners where panels meet, the joints between mesh segments, the top edge where the panel sits closest to the roof, and any section where a cable conduit or string inverter cable exits from under the panel. For conduit penetrations, cut the mesh to fit closely around the conduit and seal the gap with a foam grommet or UV-stable silicone if the mesh does not close tightly.
If you are only adding deterrents like spike strips along the top rail to stop birds from perching, understand the limitation: spikes on the frame edge alone will not stop birds from accessing the cavity from the sides or ends. The best bird deflectors work only when they are part of a complete perimeter solution, not when they are applied to a single spot. They need to be part of a complete perimeter solution, not a standalone fix. If birds are already going underneath rather than just perching on top, spike strips are not enough on their own.
Safety and compliance: what you need to know before going up
Roof and ladder safety
Set your ladder on firm, level ground and have someone foot it while you climb. On a pitched roof, wear rubber-soled shoes and move slowly. Keep your weight centered and avoid stepping on panel surfaces. If your roof is steep, wet, or covered in algae, do not attempt this yourself. Hire a pest control company or solar installer who has the harness equipment to work safely. The install itself is straightforward, but a fall is not worth it.
Electrical awareness
Solar panels generate DC electricity any time light hits them, even on cloudy days. There is no way to "turn off" a solar panel without proper disconnection at the inverter and combiner box. Do not touch the wiring, connectors, or the back of the panels. Work only on the frame edge, which is the non-energized aluminum border. If you need to access the underside wiring at any point, stop and call a licensed electrician or your solar installer. Clip-on and adhesive bird guard systems are specifically designed to let you work on the frame perimeter without touching live components.
Bird protection compliance
As mentioned above, do not disturb or remove an active nest. The Migratory Bird Treaty Act covers the vast majority of wild birds in the US, and violating it carries real penalties. DOI policy material on the Migratory Bird Treaty Act notes that unauthorized taking or killing of migratory birds is prohibited, including in situations involving incidental take that can arise from exclusion work and project activities. The correct sequence is: check for nests first, wait until the nest is fully vacated if one is active, remove the empty nest, clean the area, then install the guard. Installing the guard before the area is clear is both a legal risk and a practical one, since a trapped bird under your panel creates a much worse problem.
How to know it's working and how to keep it that way
Initial effectiveness test
Give it two to four weeks after installation before drawing conclusions. Watch from the ground in the early morning, when birds are most active. If you see birds attempting to probe the edges or walking along the frame looking for a way in, note which section they are targeting. That almost always points to a gap you missed. Get back up and close it.
If you are not seeing bird activity at the panels at all, great. But also check your energy monitoring app if you have one. A clean array with no nesting debris underneath should show consistent panel output. A sudden unexplained drop in one string or panel can sometimes indicate debris buildup or shading from a nest that got in before the guard was installed.
Seasonal checks and maintenance
Do a visual check at least twice a year: once in early spring before nesting season kicks off, and again in early fall. Spring is also a good time to clean the frame edges and re-inspect adhesive sections for peeling, since UV exposure and thermal cycling (panels heat up significantly in summer) can degrade adhesive over time. If a SolaTrim section has lifted, clean the area and re-apply with a fresh piece. For clip-on systems, check that all clips are still seated and that the mesh has not sagged or pulled away from the frame in any section. If you are also dealing with dryer vents, a best bird proof dryer vent solution can help keep birds from using the duct opening as an entry point.
Installing before bird season starts, typically late winter to early spring depending on your region, is the most effective timing. Once birds have identified your roof as a good nesting spot, breaking that habit takes more effort than preventing it in the first place.
If birds seem to be adapting
Truly persistent birds, especially pigeons that have nested in the same spot for years, sometimes probe a barrier repeatedly. If this is happening, first re-check every section of the perimeter for gaps smaller than you think matter. If the install is genuinely gapless and birds are still spending a lot of time at the panel edges, adding a secondary deterrent like a spike strip along the top rail or a visual repellent nearby can help break the habit. The mesh alone handles exclusion, but a secondary layer makes the area less attractive as a congregation point. That combination, physical exclusion plus deterrence, is consistently more effective than either approach alone.
If you are maintaining a larger commercial installation, keeping a log of which sections required re-clipping or adhesive repair over time helps you identify whether there is a structural issue (like a panel that is shifting slightly on its mount) that is repeatedly breaking the seal. Address the root cause rather than just re-patching the same spot every season.
FAQ
Will installing a bird guard affect my solar performance or cause overheating?
A properly fitted mesh or brush guard usually stays off the glass and only seals the small perimeter cavity. The key is to avoid covering the active module area and to keep the barrier tight so it does not flap or rub against the panel surface during wind. After installation, recheck production on your monitoring app to confirm you did not accidentally introduce shading near string junction areas.
What if my solar panels have irregular edges or uneven mounting, like warped rails or slight roof undulations?
Measure more than just the frame depth, check for section-to-section variation, and buy a system that supports cutting and tight corner overlaps. If you notice a persistent low or high spot that prevents a seal, address the mechanical issue first (for example, shifting clamps or rail leveling), because bird proofing only works if the guard stays gapless along the entire perimeter.
How do I tell whether the problem birds are “perching” versus actually getting underneath?
Perching behavior looks like birds staying on the top rail or frame edge without probing under the panel. Underneath access shows probing at the underside perimeter, repeated walking along the bottom edge, and nesting material or droppings accumulating under the array. If you see underside activity, a top-only spike strip is typically insufficient, you need the full perimeter closure.
Can I install bird guard on panels that are still within the manufacturer warranty period?
Most warranties dislike drilling into the panel frame or mounting rails. The safer approach is using the clip-on or adhesive methods designed for solar frames, then keeping documentation of the product and your installation steps. If your array has an active service agreement, confirm in writing that perimeter clip-on products are allowed before you start.
What should I do if the guard does not fit because my gap is larger than the product spec?
Do not “make it work” by leaving a loose section. Instead, switch to a product designed for your specific closure range or change the system type (for example, taller needle mesh versus lower-profile trim). If the gap is too large because the rails or frame are out of tolerance, correct that mechanical issue first so the guard can actually seal.
How can I cut mesh around cables and ensure it still blocks entry?
Cut the mesh to follow the cable penetration closely, then seal any remaining micro-gaps with a UV-stable material (foam grommet or appropriate silicone). The goal is full perimeter continuity even around penetrations, a loosely fitted opening defeats the purpose even if the rest of the array looks sealed.
Do I need to clean out nesting debris before installing the guard even if the nest looks empty?
Yes. Birds can leave debris, feathers, and nesting material that can attract future use. Remove abandoned material after nests are confirmed vacated, then clean the underside perimeter before fitting the guard so the barrier can sit flush and not be prevented by leftover buildup.
How long should I wait before deciding the installation failed?
Give it about two to four weeks. Birds may probe immediately after installation and you want time to see whether they consistently abandon the edges. If you keep seeing targeting of a specific corner or segment after that window, recheck that section first for any small unsealed openings or sagging mesh.
What if I still see birds at the array, but I cannot find gaps with a visual inspection?
Do a more granular check by focusing on joints between mesh segments, corners, and any conduit exit points. Then gently verify that clips are fully seated and that adhesive strips did not lift at edges from thermal cycling. If everything is sealed, consider a secondary deterrent nearby as an added discouragement, but keep the physical perimeter closure as the primary solution.
Is it safe to install the guard myself on a steep, wet, or algae-covered roof?
If the roof is steep, wet, or has slick growth, do not attempt it. Use professional help for harness equipment, or choose a setup that limits roof access. Also, never step on panel surfaces, keep weight centered, and have a spotter foot the ladder while you work.
Can I work near the electrical components to attach bird guard faster?
Avoid touching wiring, connectors, or the back of the modules. Even on cloudy days panels generate DC electricity when lit, and energized areas are not part of the “frame-only” workflow. Use products that let you work at the perimeter frame edge, and stop to call your solar installer or a licensed electrician if you must access any electrical underside components.
How should I maintain the bird guard over time?
Plan at least two checks per year, early spring and early fall. Look for peeled adhesive, lifted corners, sagging mesh, and clip dislodgement. If a section fails, patch that exact location and confirm the adjacent pieces still provide overlap, because a repaired spot can still be bypassed if the seam continuity is broken.
Do I need special precautions if I find an active nest while checking for gaps?
Yes. Do not disturb or remove an active nest. Wait until the birds have fully vacated, then remove the abandoned nest and clean the area before installing the guard. Trying to install around an active nest can create a worse situation by trapping birds under the array and also creates a legal risk.
Next Article
How Much Does Bird Proofing Cost? 2026 Pricing Guide
2026 bird proofing pricing by area and method, with cost drivers, DIY vs pro guidance, and quote checklist.